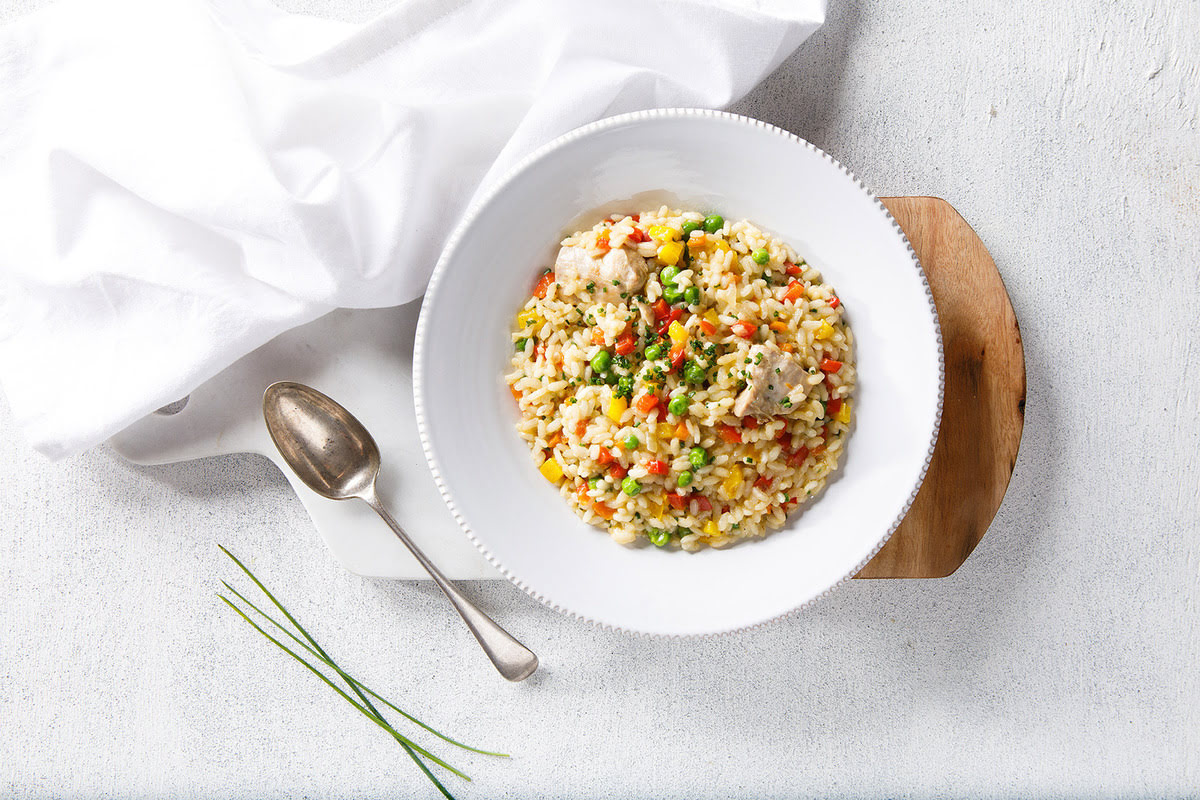
By: Lucas Johnson • Recipe
Instant Pot Chicken Wild Rice Soup Recipe – Saute Your Mirepoix with Jenron Designs

By: Lucas Johnson • Recipe
Simmering Scents of the Season: Instant Pot Recipes
By: Lucas Johnson • Recipe
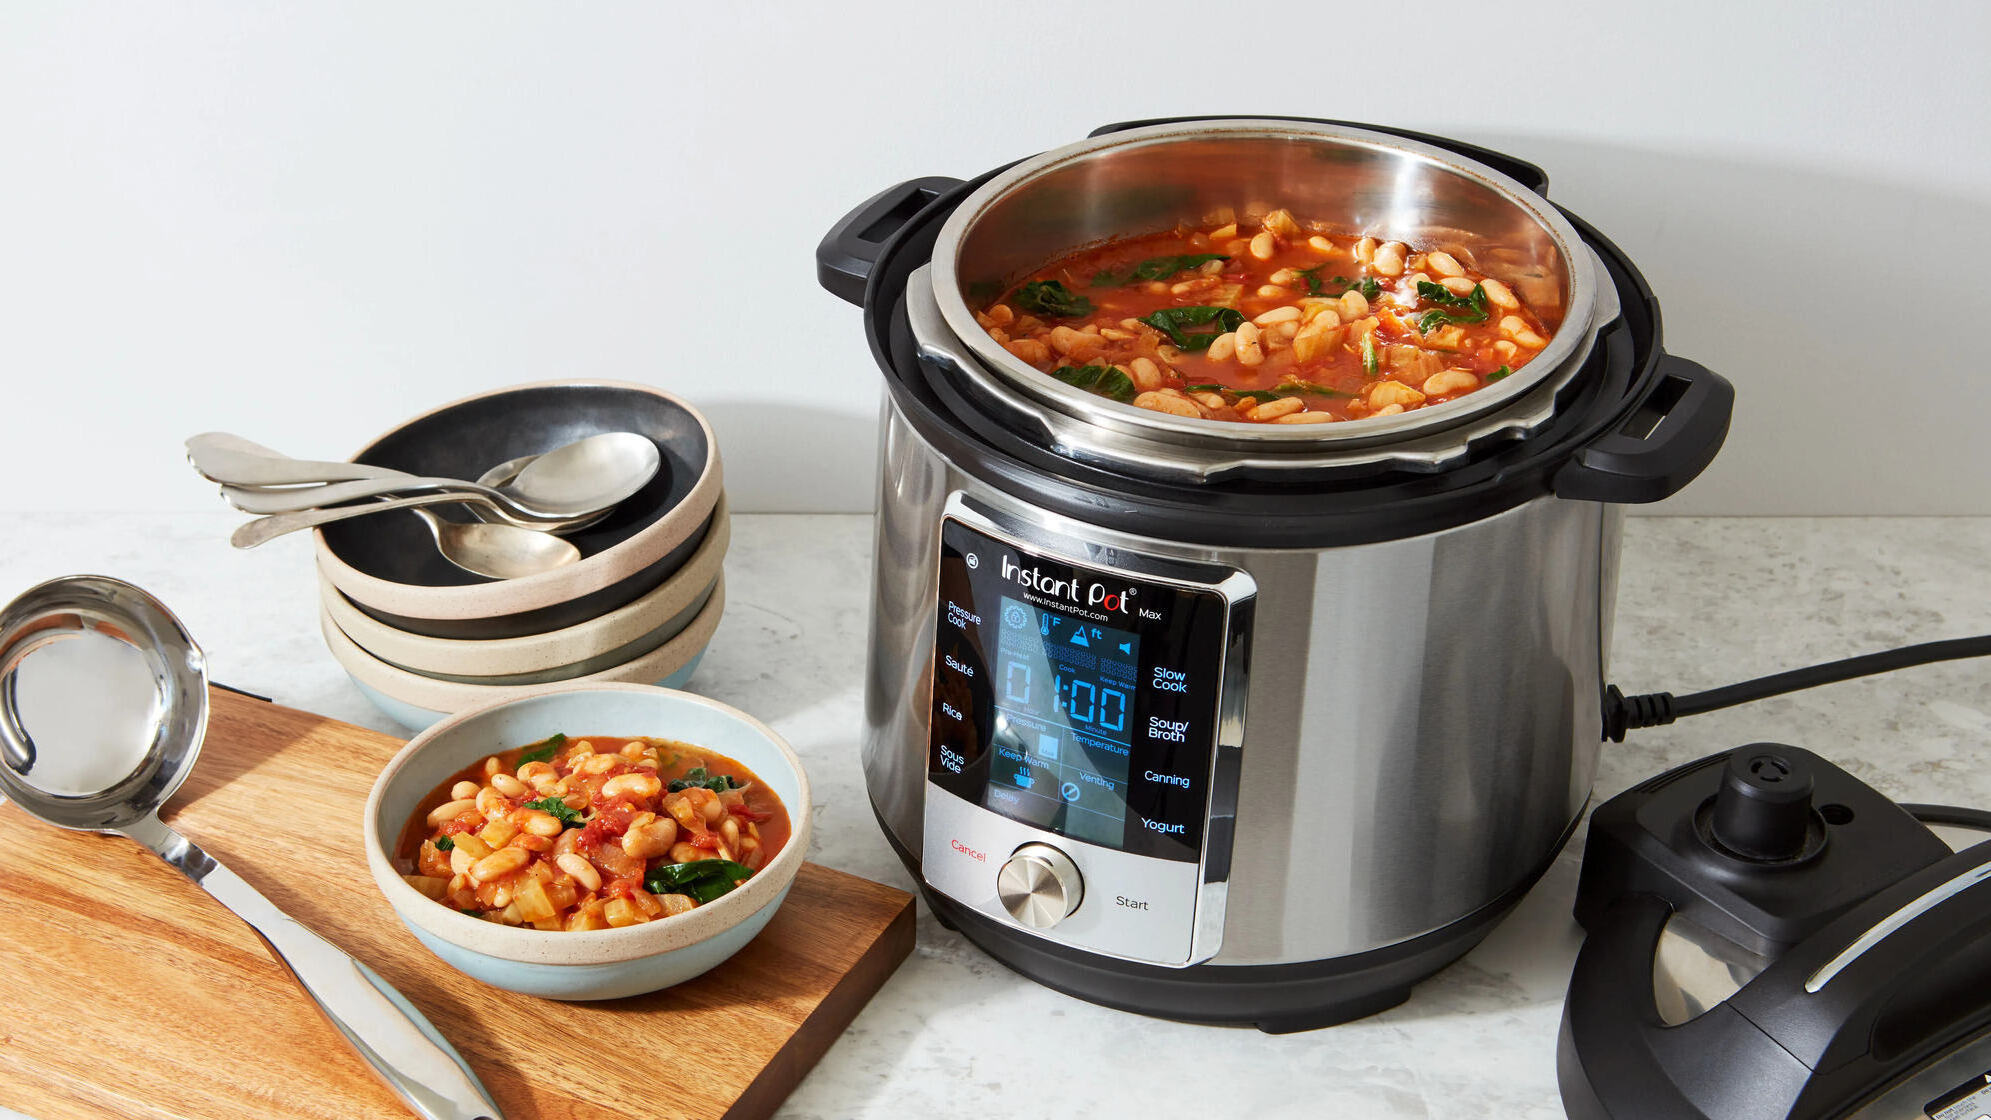
Recipes for Every Occasion at Home Pressure Cooking
Inspiration & Ideas
Featured Articles
By: Emily Smith • Article
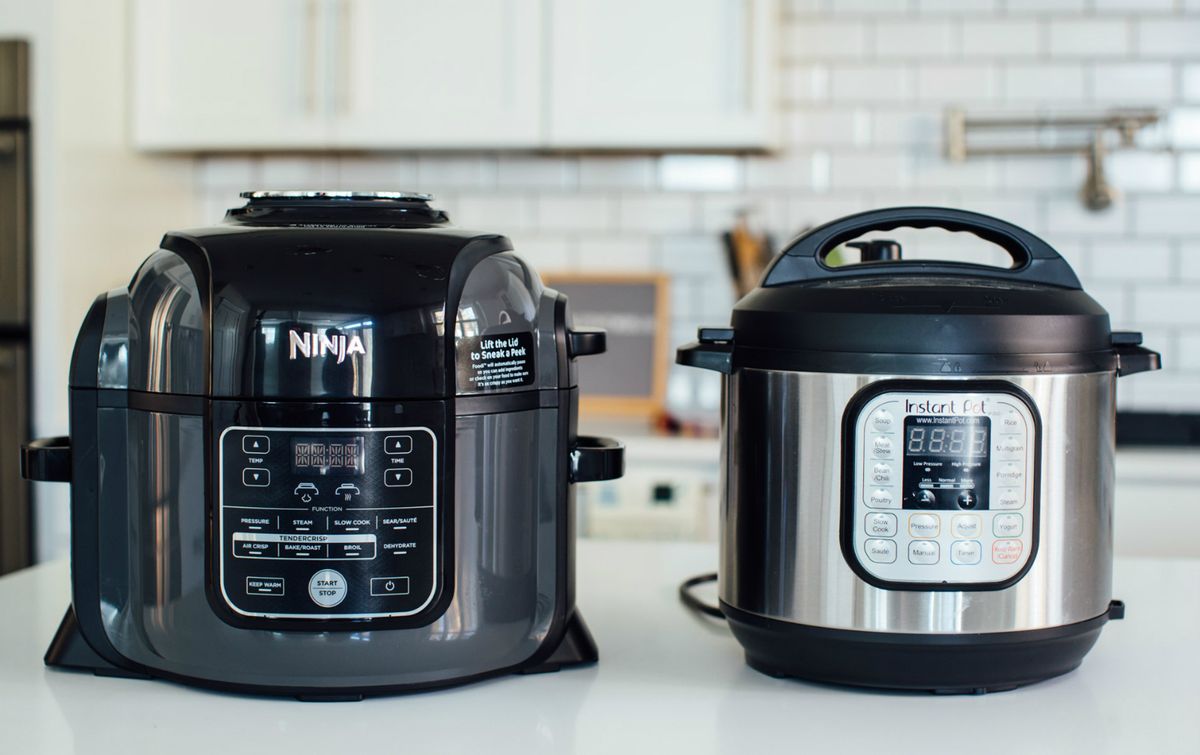
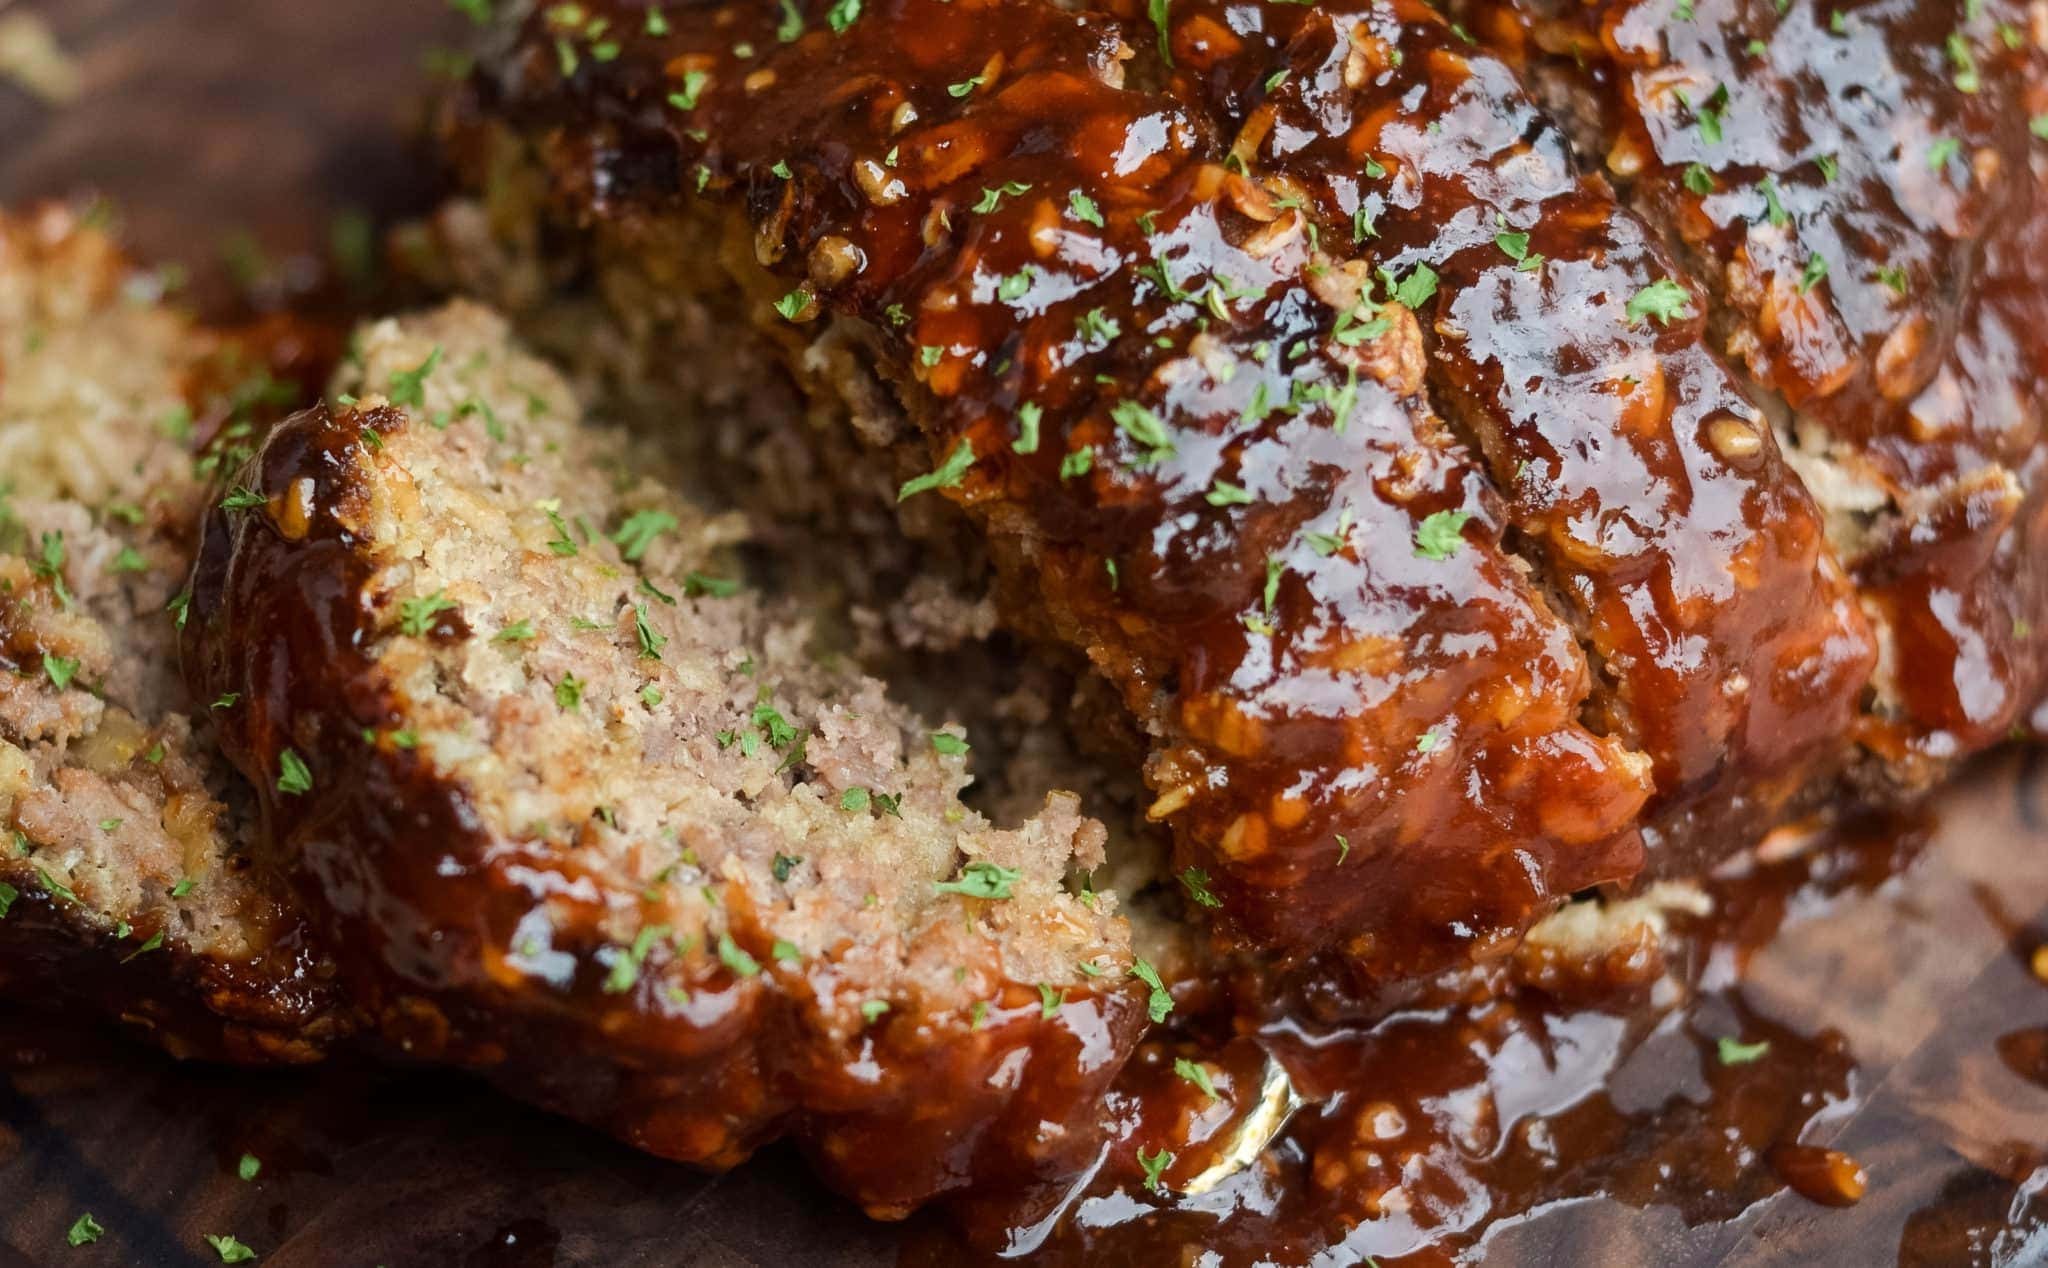
How to Make Meatloaf in the Ninja Foodi
By: Lucas Johnson • Article
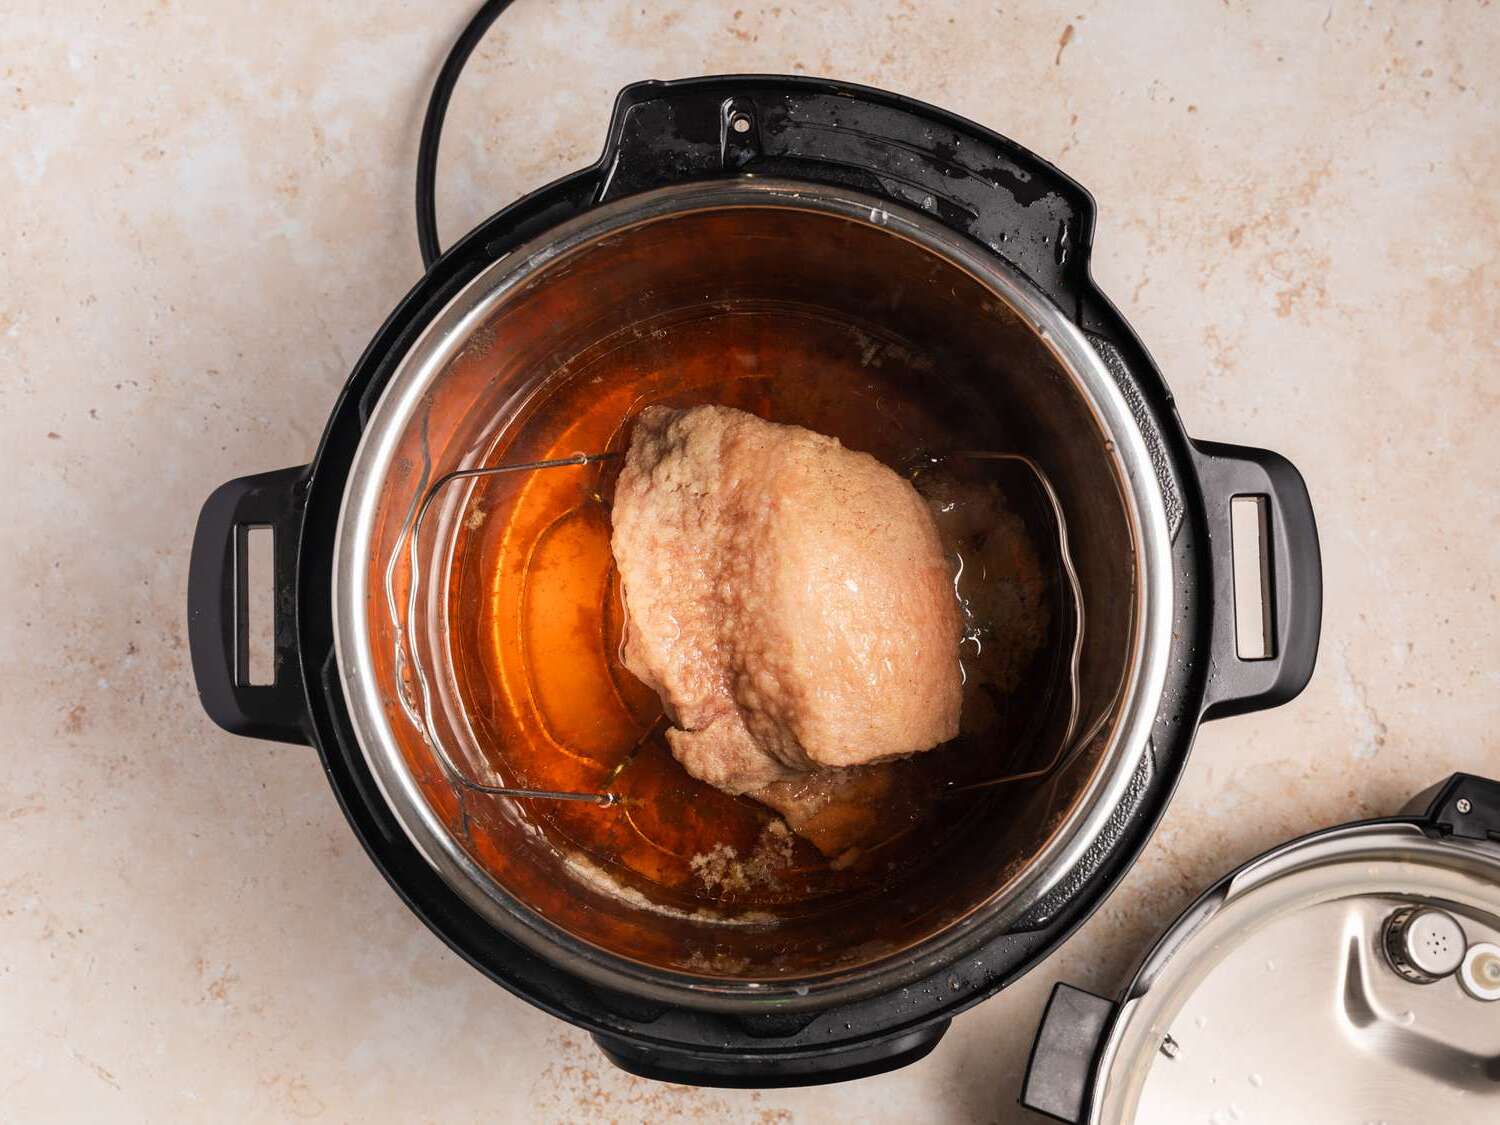
How to Make Corned Beef Brisket in the Pressure Cooker
By: Emily Smith • Recipe
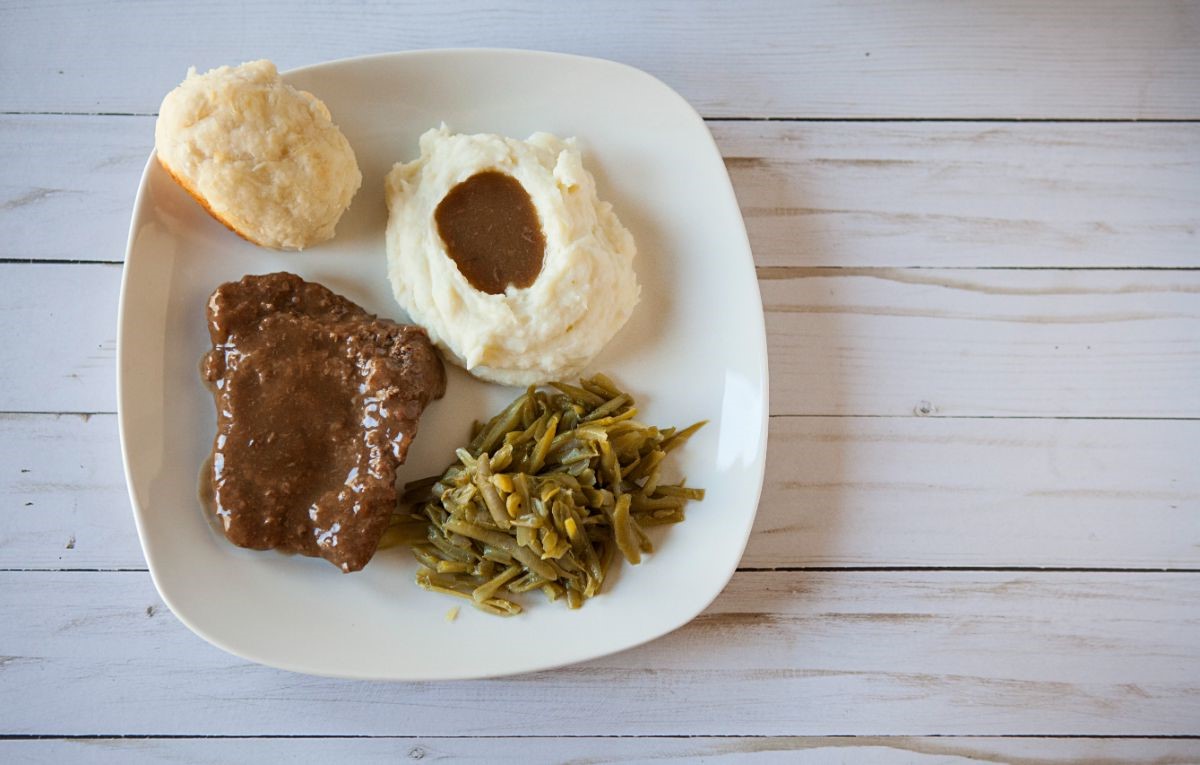
Instant Pot Cube Steak Recipe

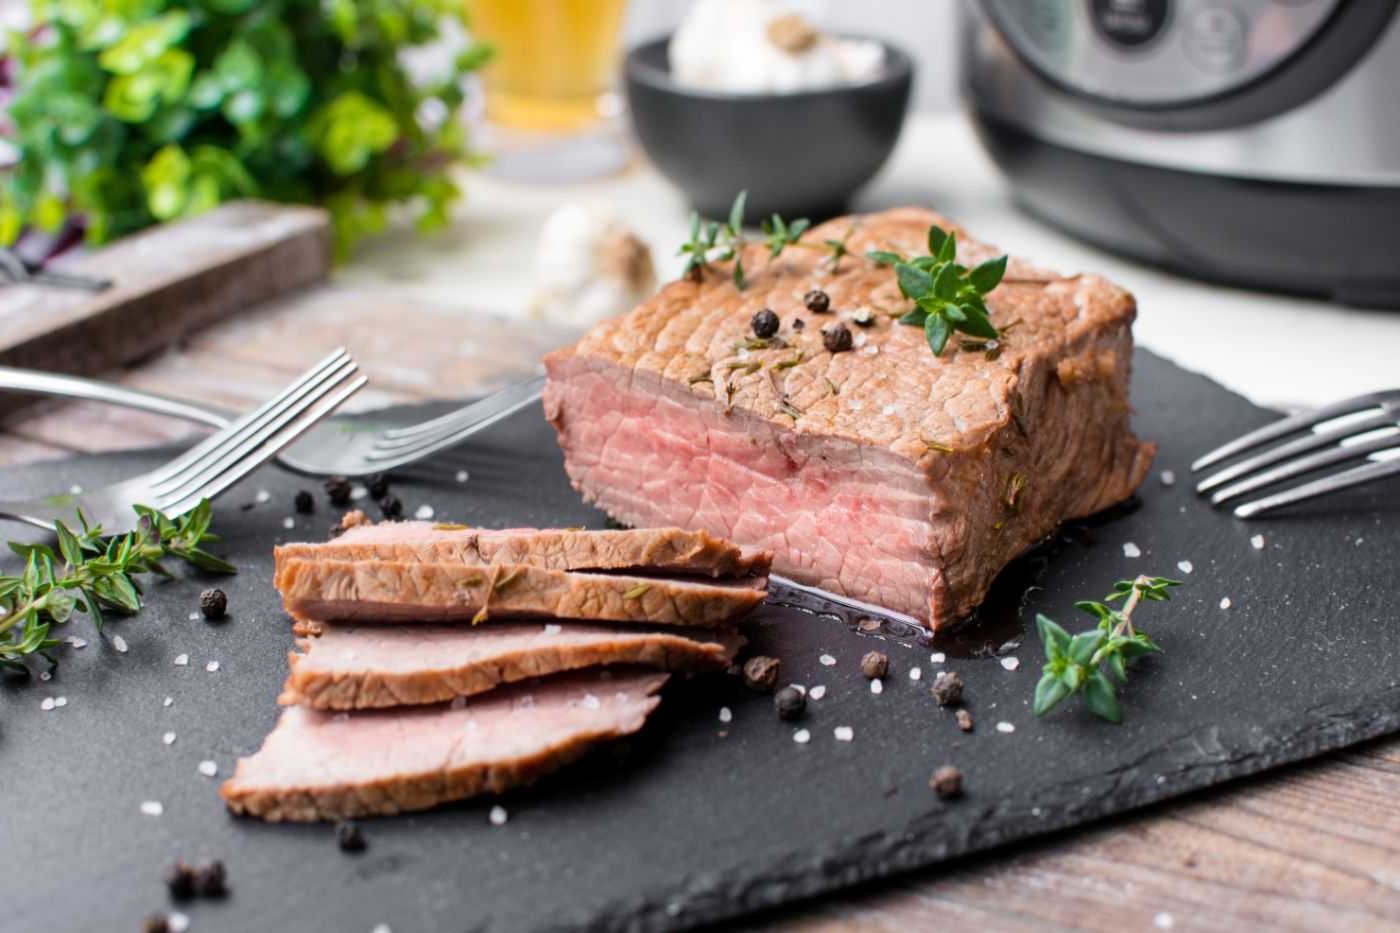
By: Emily Smith • Recipe
Sirloin Tip Roast in the Instant Pot Recipe

By: Lucas Johnson • Recipe
Char-Broiled Hot Dogs in the Ninja Foodi Recipe
By: Lucas Johnson • Recipe