If you’re looking for a quick fall dessert, look no further than apple cranberry crisp. The Ninja Foodi baking function is perfect for an apple crisp recipe that is paleo and dairy-free with a nut-free option. This one is refined sugar-free so is lower carb than your usual suspects at your holiday dessert table. Don’t have a Ninja Foodi? I’ve put baking directions in the recipe as well. I’ve even made this in my toaster oven!

We have other breakfast ideas, such as Steel Cut Oats with Maple Brown Sugar, Crunchwraps made in your air fryer, and even how to make your own yogurt in a slow cooker.

The Ingredients

This combination of ingredients is an example of how easy a gluten-free recipe can be to throw together. The right combination of shredded coconut and almonds makes such a nice topping that recreates a classic apple cranberry crisp.

  • apples
  • pears
  • cranberry
  • corn or arrowroot starch
  • maple sugar
  • lime juice
  • shredded coconut
  • ground almonds
  • coconut flour
  • coconut oil
  • maple syrup

Mix Fruit Together

The proportion of apples to pears can be whatever you wish it to be as long as you get about 4 1/2 cups total. Mix the fruit together with cranberries, starch, maple sugar, and lime juice. Put this on the bottom of your baking pan and start preheating your Ninja Foodi or oven.

Make the Topping

Simply mix together the coconut, almonds, starch, flour, oil or butter, and syrup. This will create a looser consistency than what is typical for a traditional crisp but it gets firm and golden brown after it’s cooked. Spoon it on top of the fruit creating as even of a layer as possible.

photo shows mixing together the coconut, almonds, starch, flour, oil or butter, and syrup

Bake

The first half of baking is best done covered with aluminum foil on top. This ensures the fruit cooks and gets soft while also preventing the topping from browning too quickly. Remove it for the last half of baking until the fruit is soft.

photo shows the springform pan with filling covered with tin foil and being placed into a ninja foodi

Eva Bee
Prep Time 10 minutes
Cook Time 40 minutes
Servings 6 Servings

Equipment

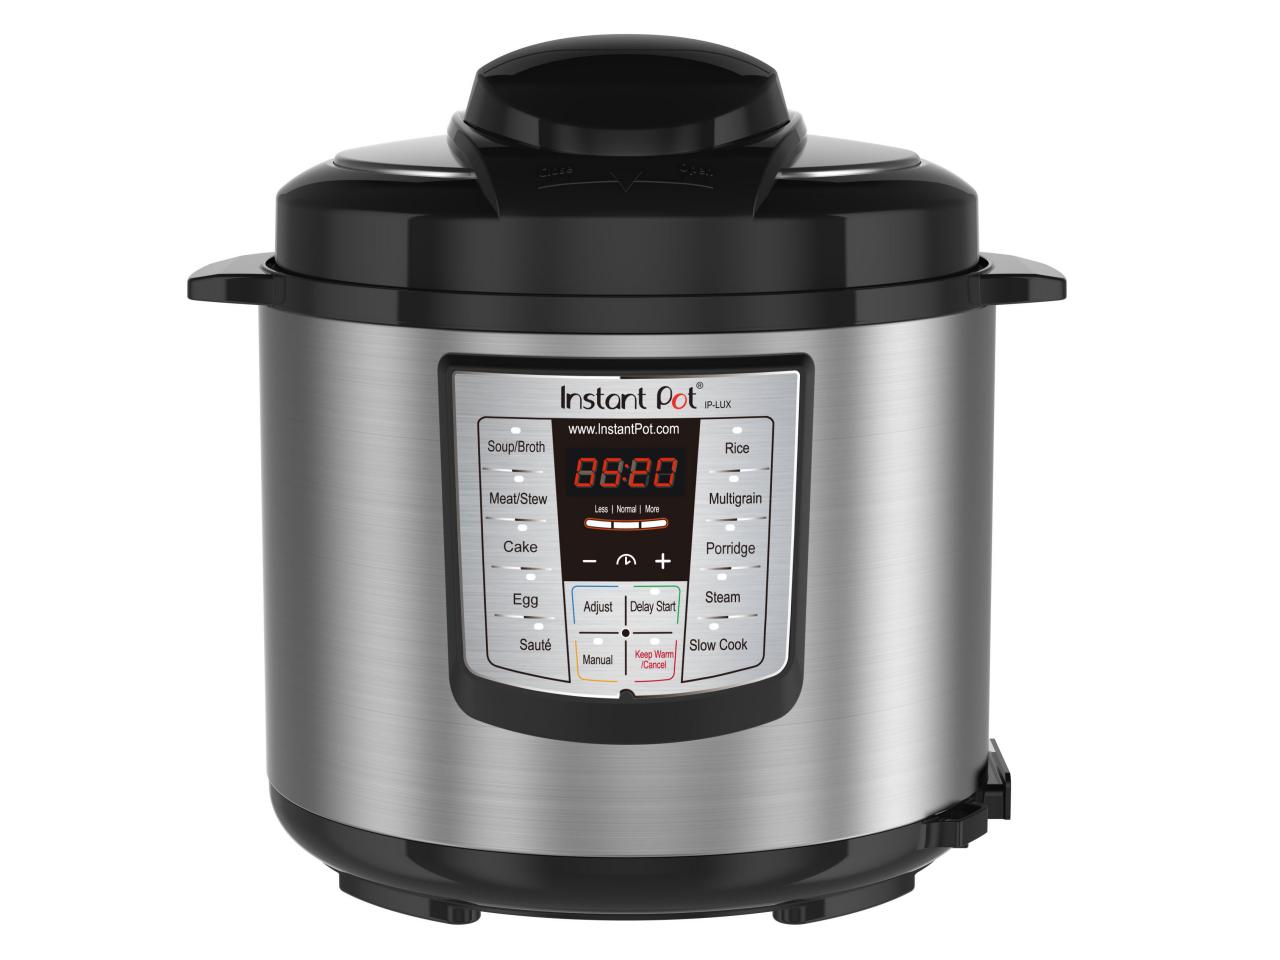
  • Ninja Foodi
  • 7" springform bundt pan or cake pan

Ingredients
  

Fruit Filling

  • 2Β½ cup peeled, cored and diced apples
  • 2 cup diced and cored pears
  • Β½ cup cranberries frozen or fresh
  • 2 tbsp corn starch or arrowroot starch if paleo
  • 1 tbsp maple sugar
  • 2 tsp lime juice

Crisp Topping

  • ΒΎ cup unsweetened shredded coconut
  • β…“ cup ground almonds or quick cooking oats if not low carb or tigernut flour if nut free
  • ΒΌ cup corn starch or arrowroot starch if paleo
  • 2 tbsp coconut flour
  • ΒΌ cup coconut oil, melted or butter
  • ΒΌ cup maple syrup

Instructions
 

  • Mix all of the ingredients of the fruit filling together. Place into a 7" springform pan or cake pan that will fit into the Ninja Foodi if using. If using a springform pan, there may be leakage. If desired, place a sheet of aluminum foil over the bottom of the pan.
  • Preheat Ninja Foodi, if using, on Bake setting to 325F or regular oven to 350F.
  • Mix all of the topping ingredients together until all of the ingredients are fully incorporated. Spread over top of the fruit.
  • Cover with aluminum foil.
  • Insert onto a trivet in the Ninja Foodi or bake in oven for 20 minutes.
  • Carefully remove aluminum foil. Bake for 15 - 20 more minutes. Check after 10 minutes and cover again with aluminum foil if browning too quickly.
  • Remove carefully. Allow to cool for at least 5 minutes. Serve.

Video

Discover Delicious

Looking for more beginner-friendly recipes? Click here!

Even More For Breakfast!

Check out our Secret Ingredient Biscuits or our Air Fryer Banana Bread Bites

Get fresh ideas delivered directly to you each week.

Sign up for our newsletter and be among the first to see our latest kitchen creations!

Prefer visual learning?

Subscribe to the Home Pressure Cooking YouTube Channel and discover a wealth of great video content at your fingertips!

Share your thoughts!

Let us know what you think about this recipe by leaving us a rating and review below!

Leave a Reply

Your email address will not be published. Required fields are marked *

Recipe Rating