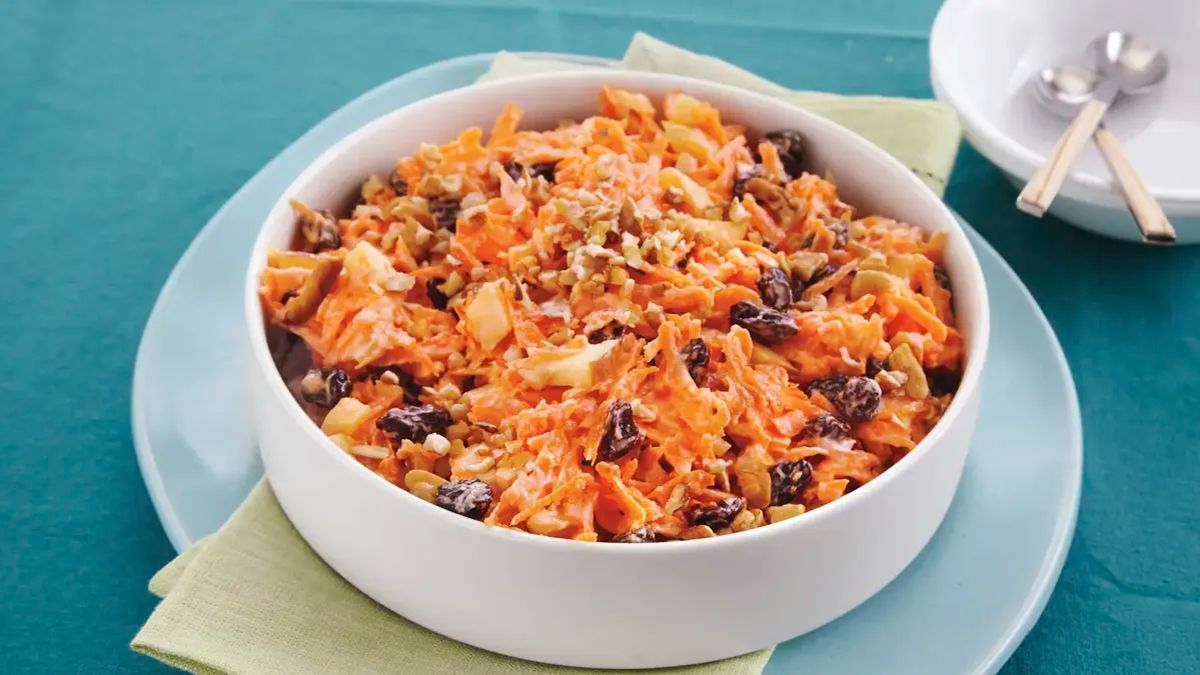
By: • Recipe
Carrot Raisin Salad Recipe
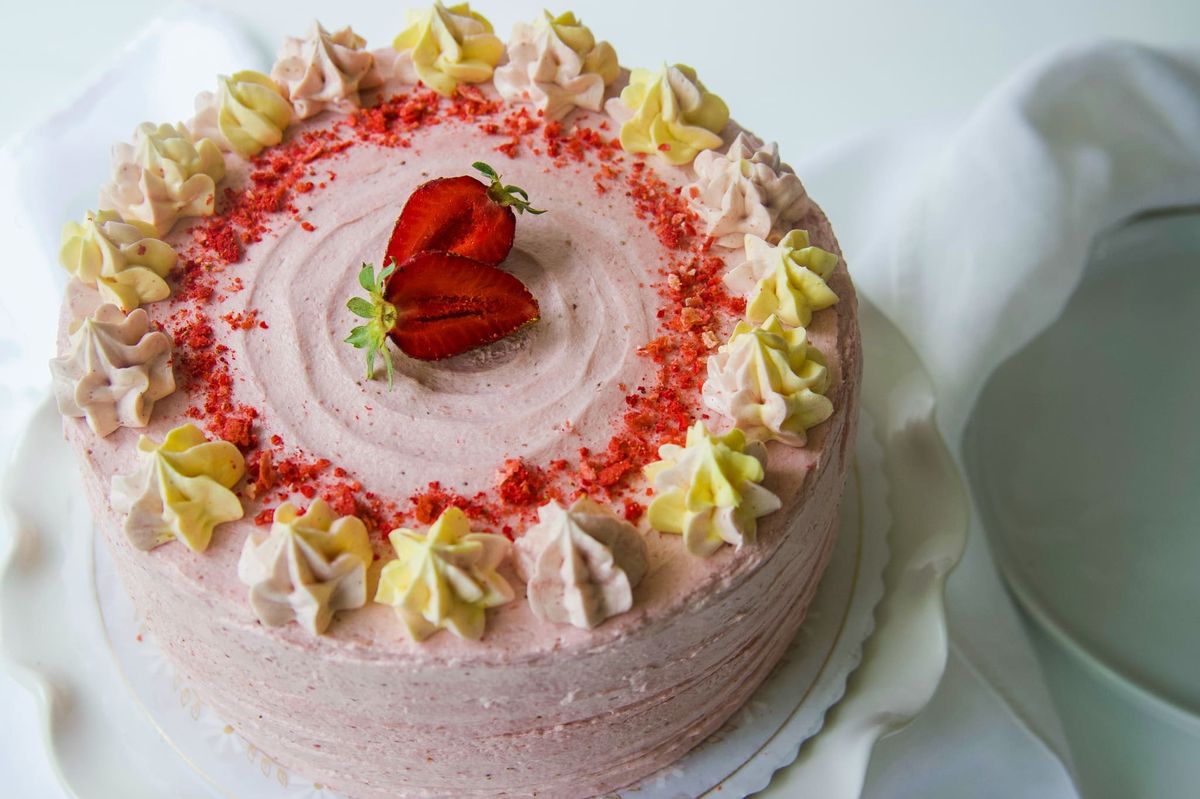
By: • Recipe
Strawberry Cake Recipe
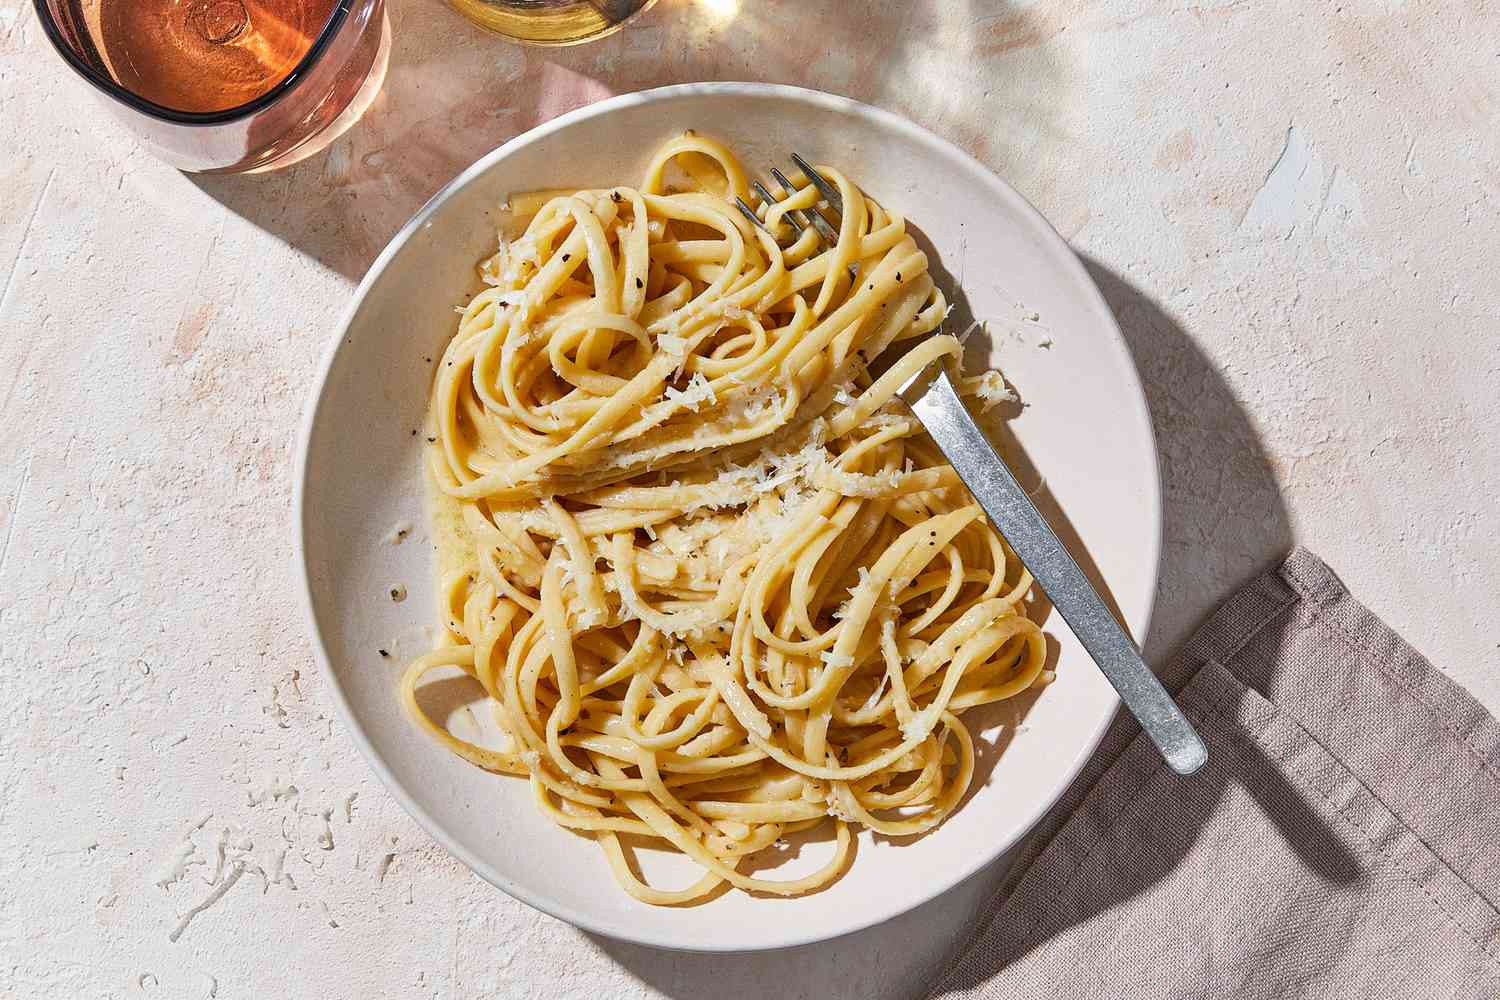
By: • Recipe
Spaghetti Cacio e Pepe Recipe
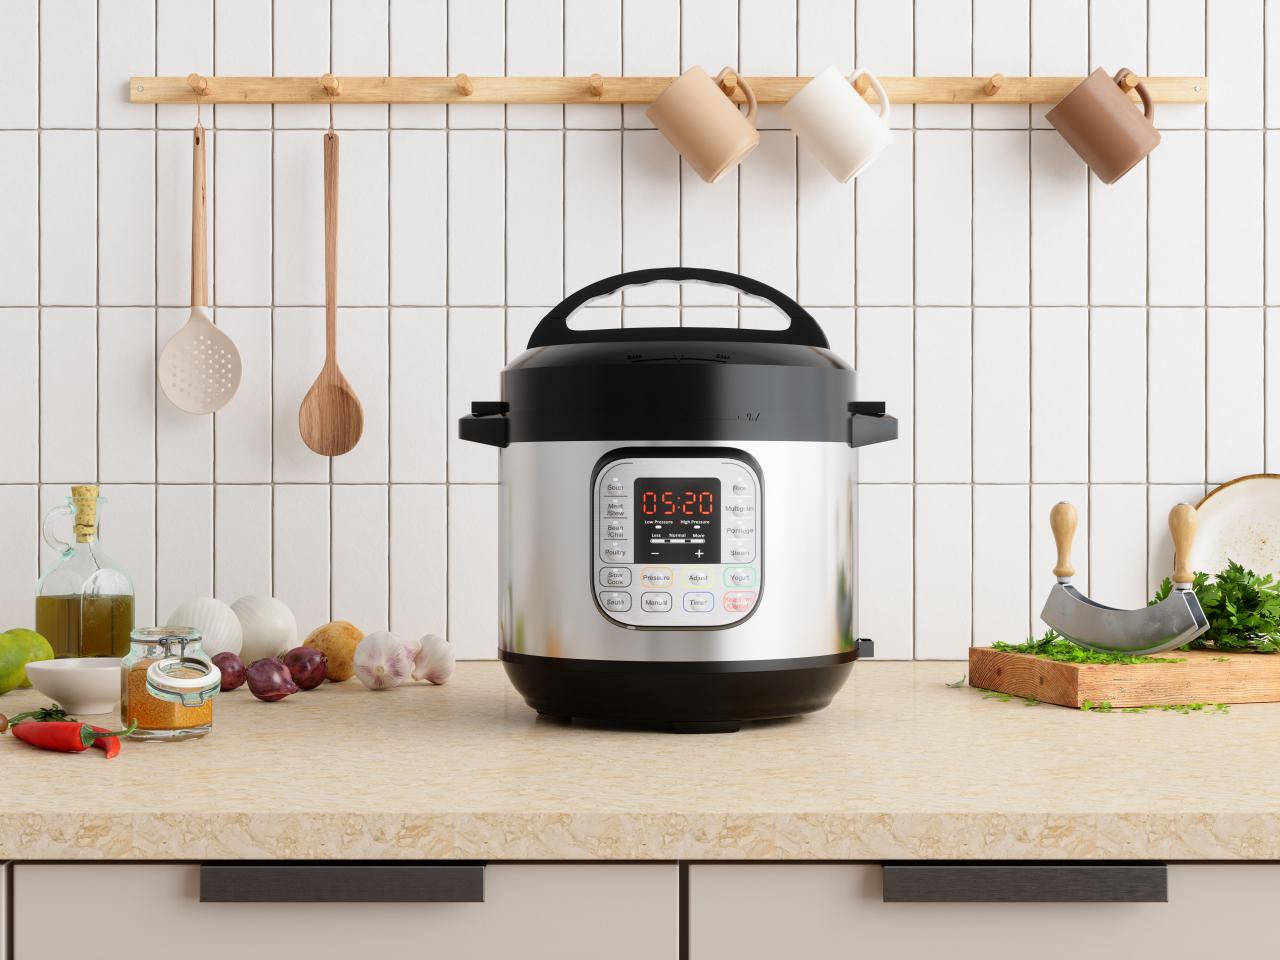
Must Try Instant Pot Recipes
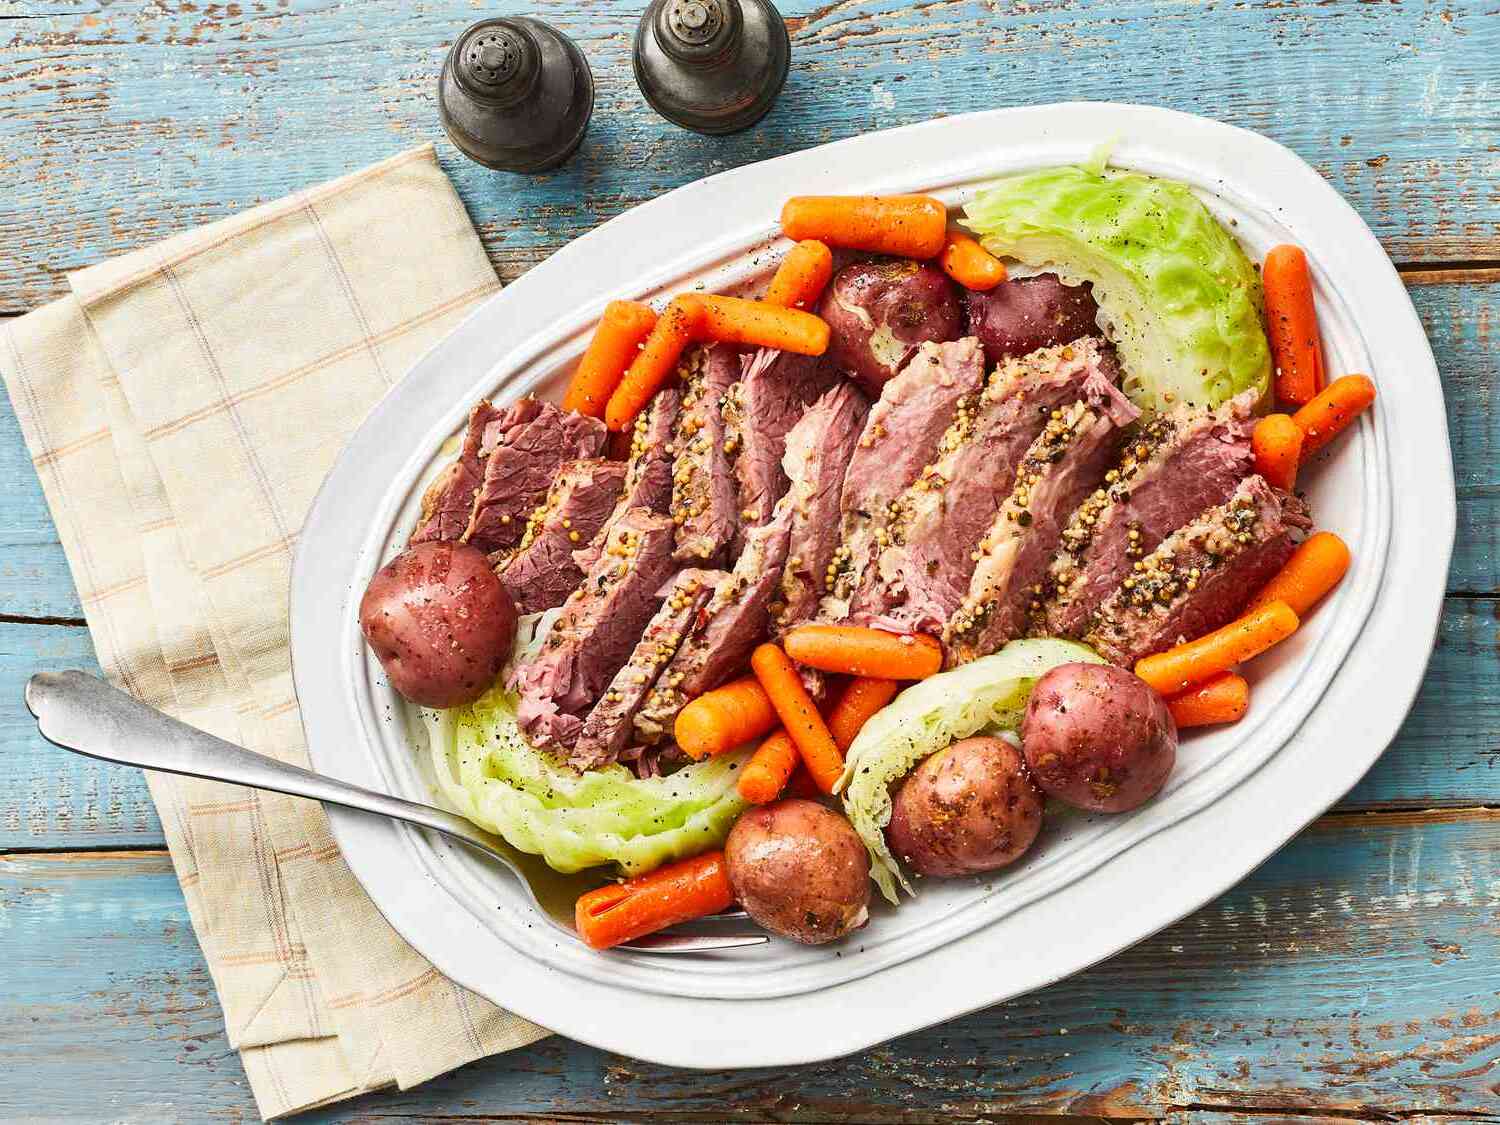
By: Lucas Johnson • Article
How to Make Corned Beef Brisket in the Pressure Cooker
By: Emily Smith • Recipe
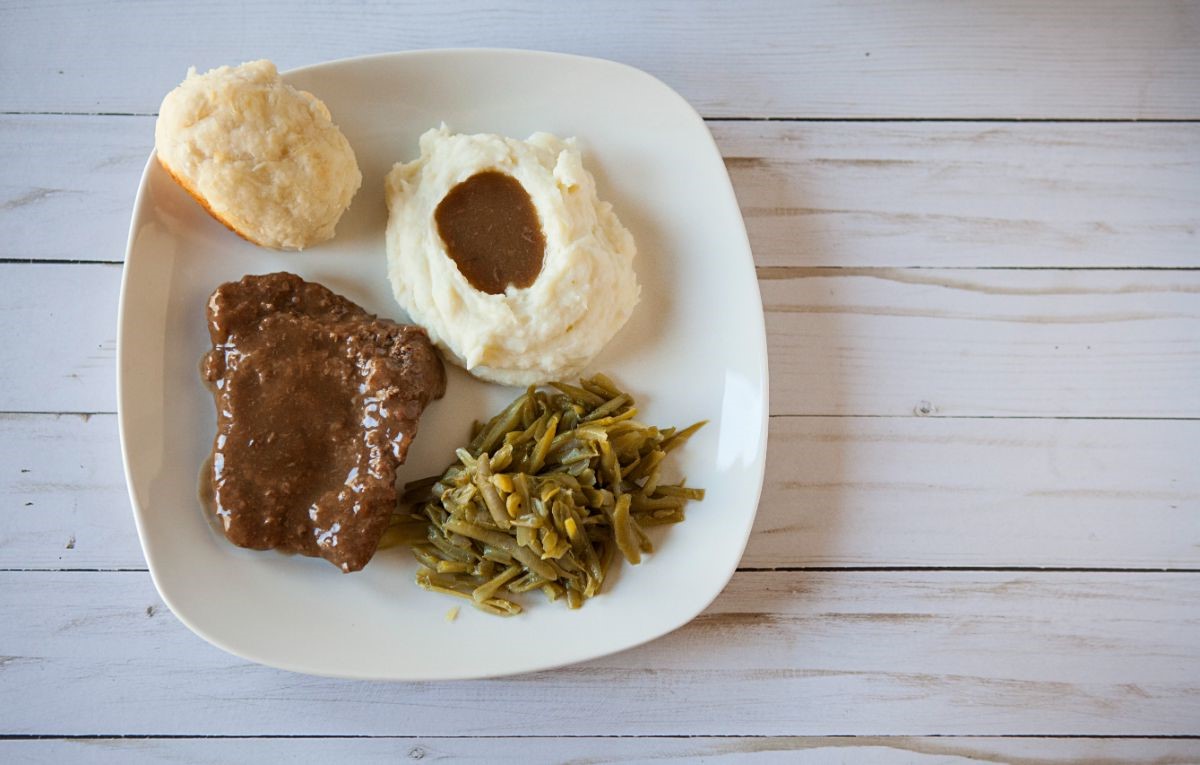
Instant Pot Cube Steak Recipe

By: Emily Smith • Recipe
Sirloin Tip Roast in the Instant Pot Recipe
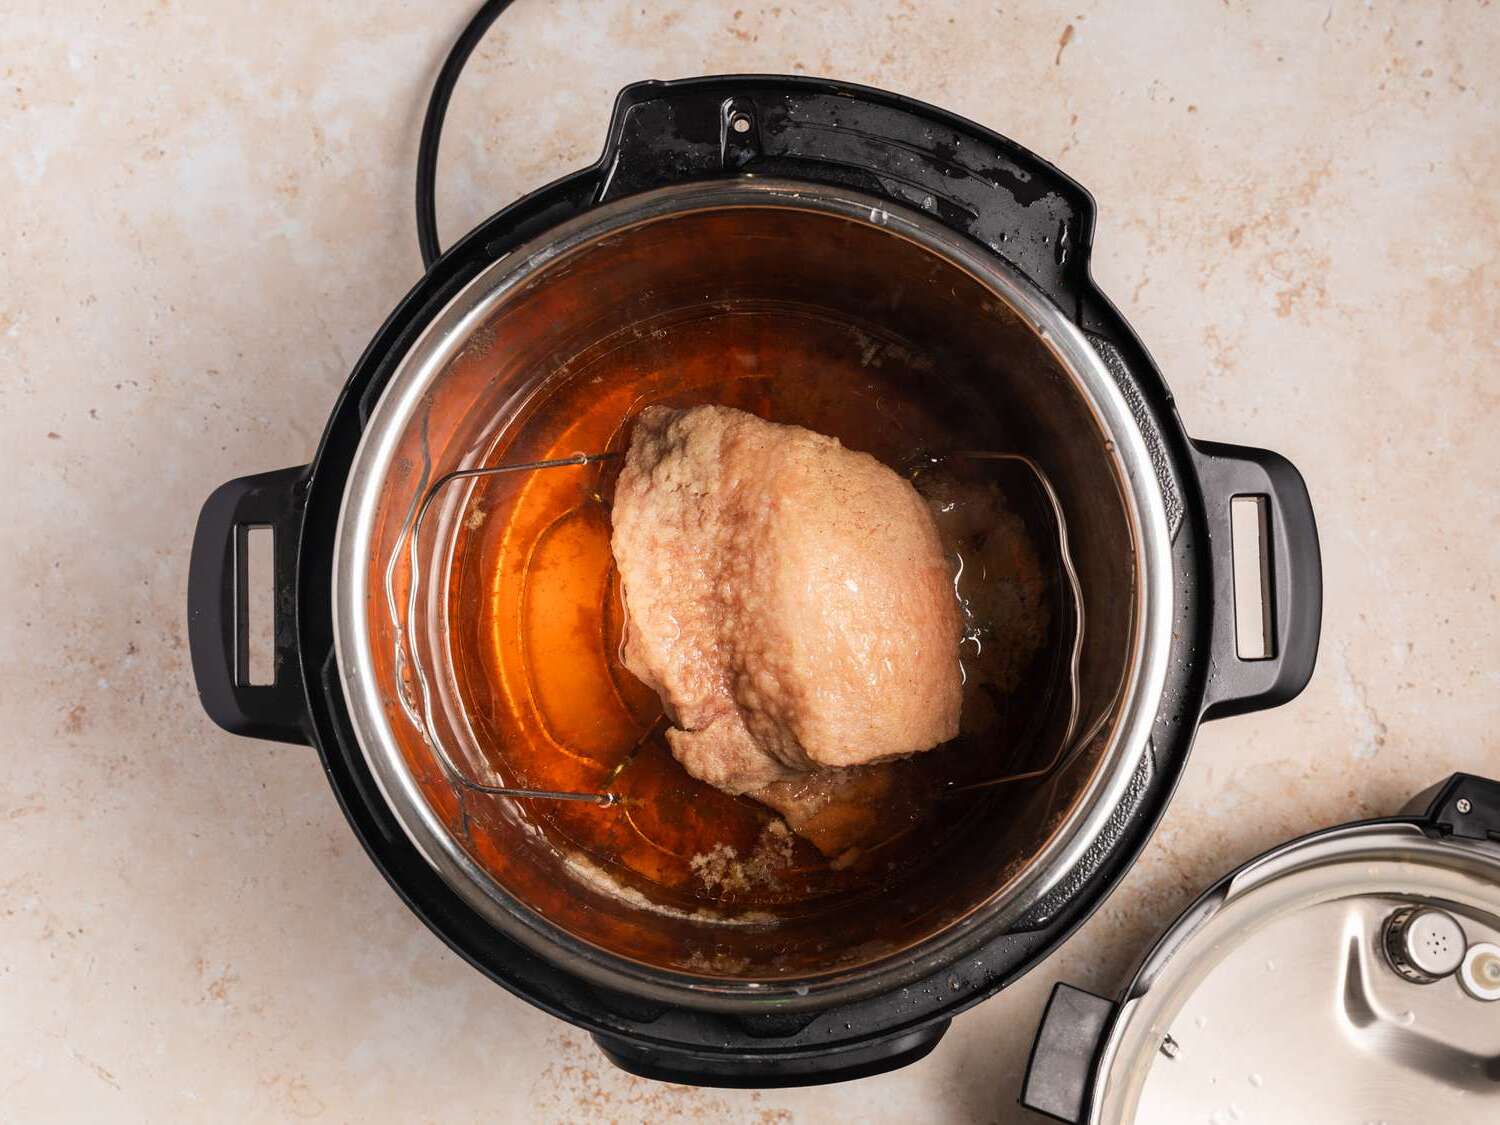
By: Emily Smith • Recipe
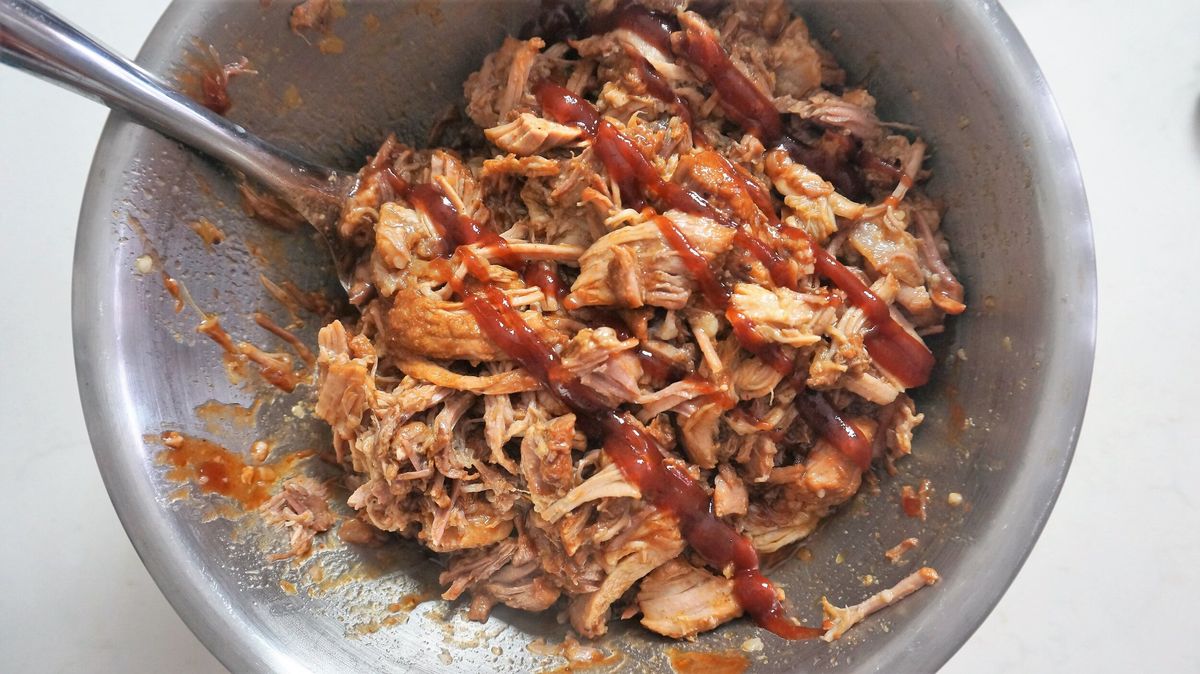
Orange Cinnamon Instant Pot Pulled Pork Recipe

By: Lucas Johnson • Recipe
Char-Broiled Hot Dogs in the Ninja Foodi Recipe
By: Lucas Johnson • Recipe
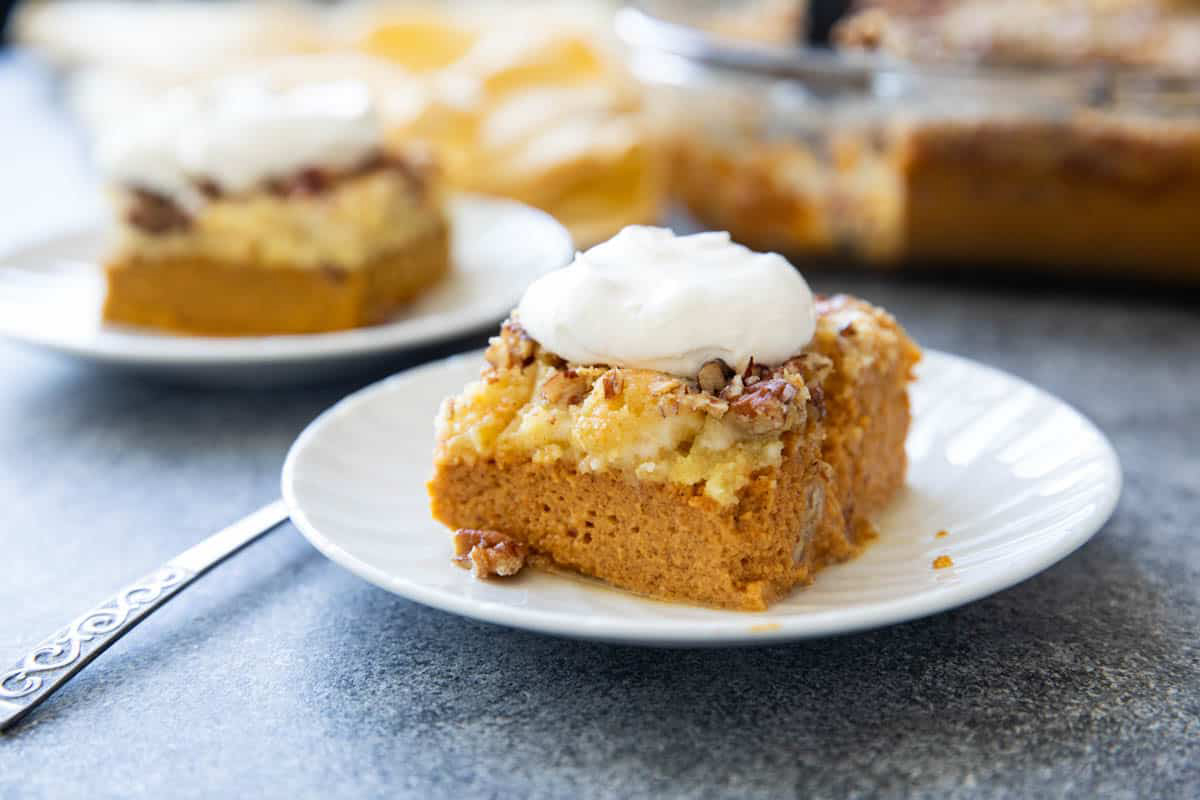
Dump Cake Instant Pot Recipe
By: Lucas Johnson • Recipe
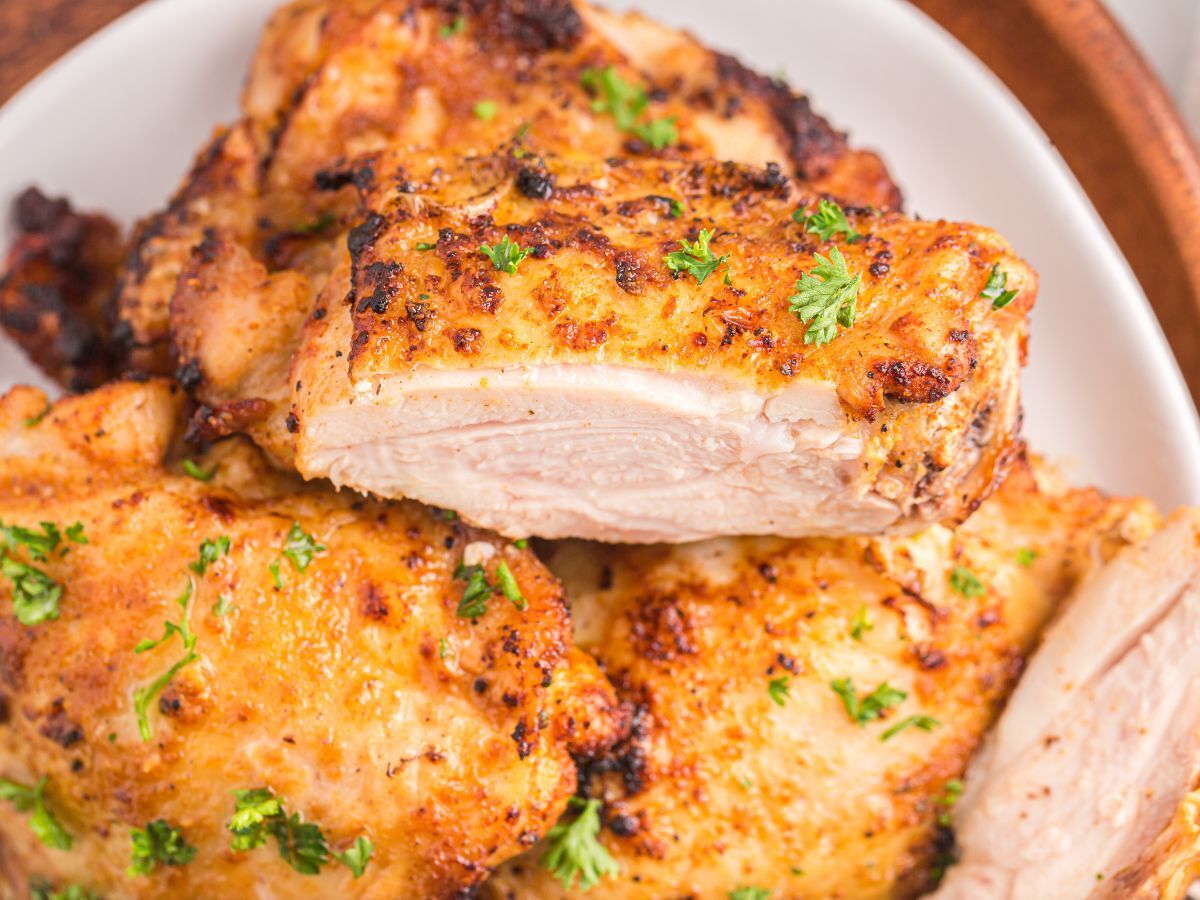
Air Fryer Chicken Thighs: Smokey and Crispy Recipe
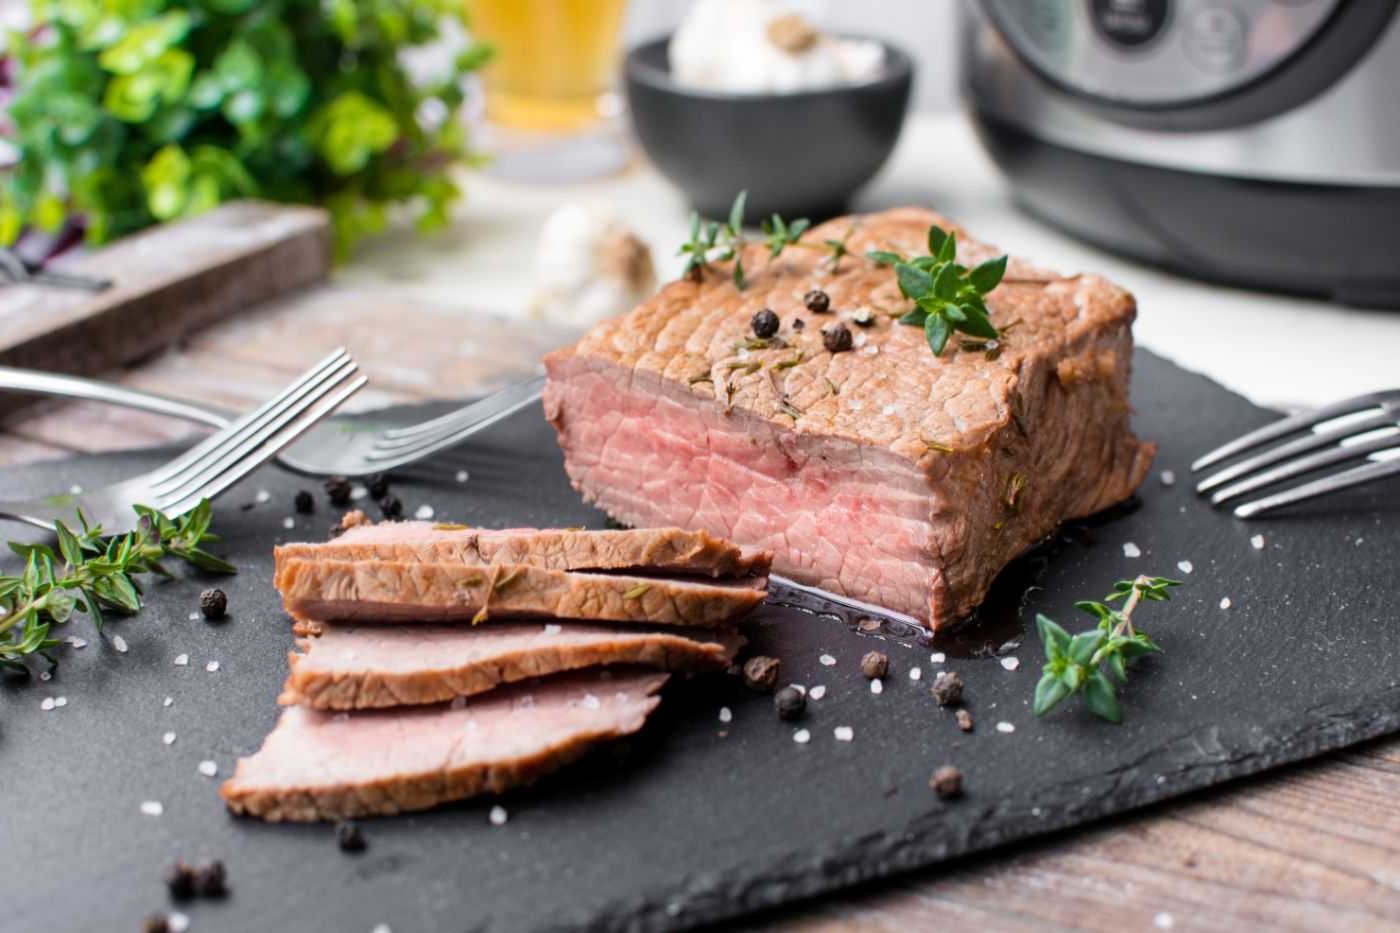
By: Lucas Johnson • Recipe
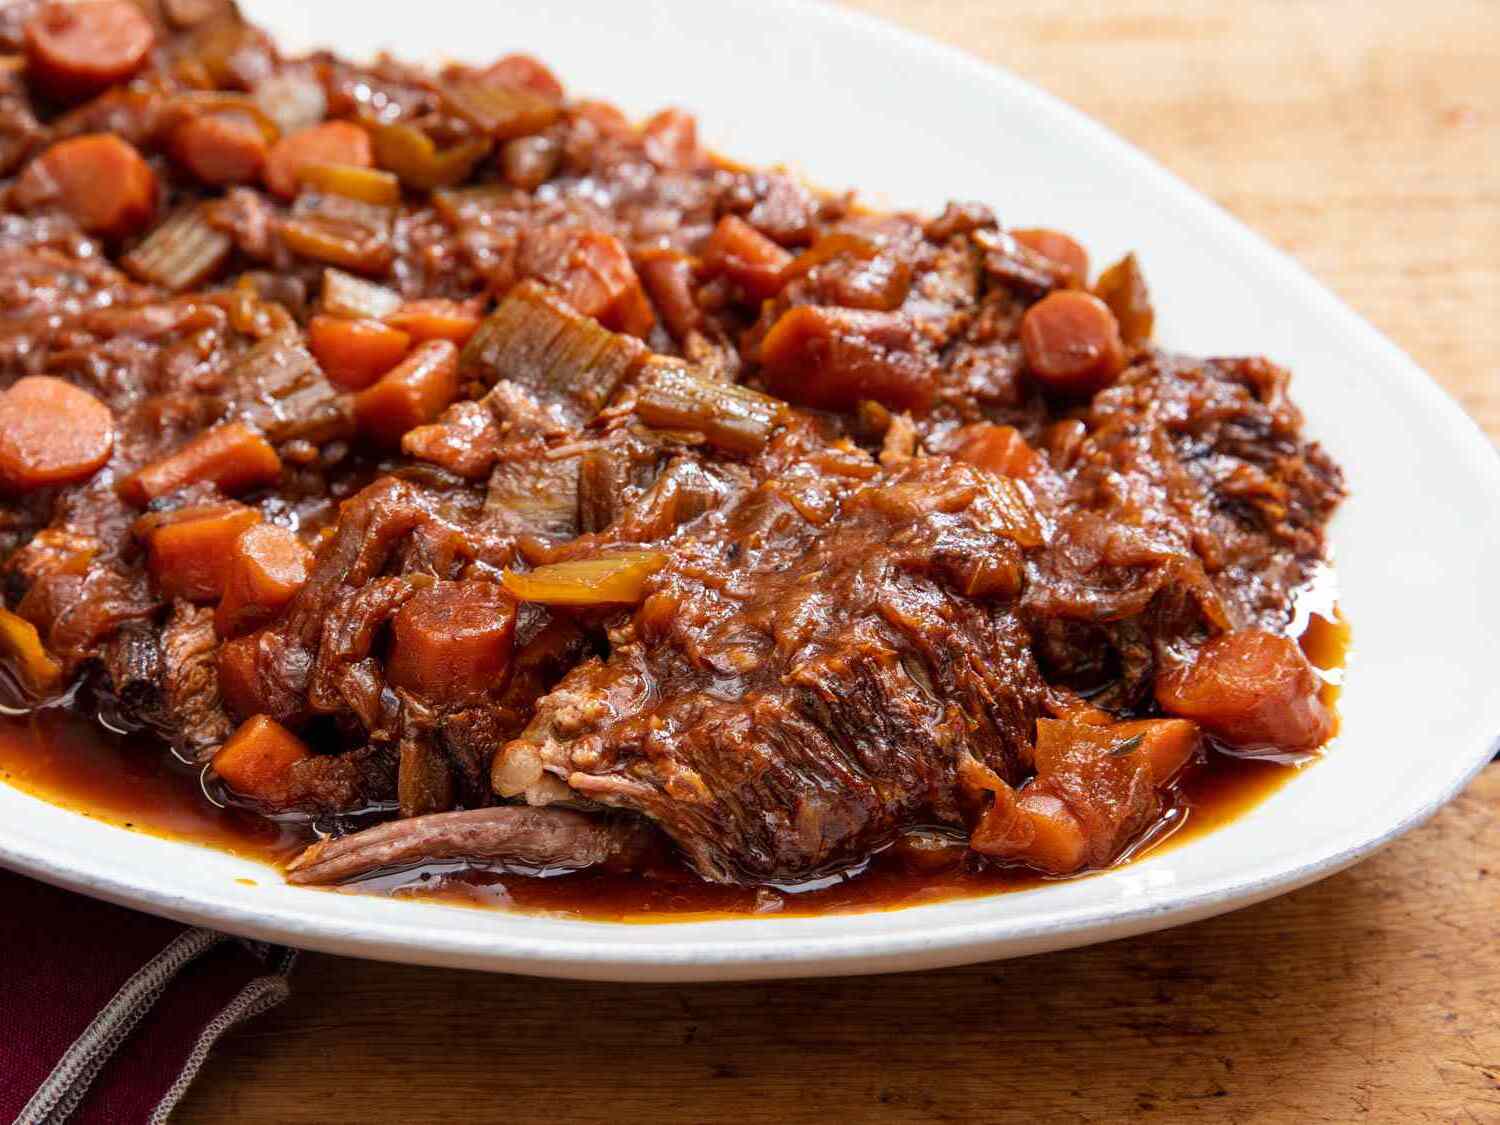
London Broil in the Pressure Cooker Recipe
Latest Instant Pot Recipes by Russell
Latest Articles


Tag not found.
PLEATED LAMPSHADE ARE MY NEW FAVORITE THING
SHOULD WE STAY LIGHT OR GO DARK WITH PAINTING OUR TINY MASTER BEDROOM?