Recipe
Deviled Egg Easter Peeps Recipe
Published: April 1, 2024
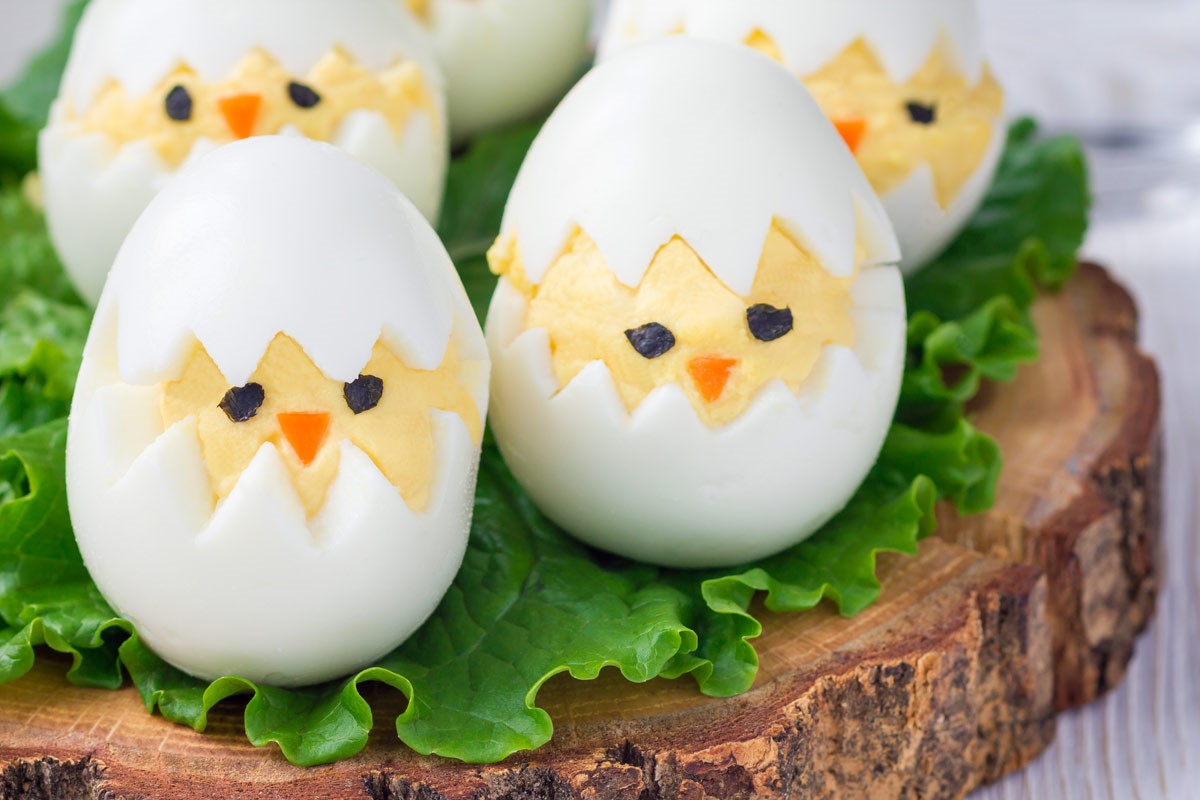
Whipping up my deviled egg Easter peeps is a blast! I mix yolks with mayo and mustard, then add a pop of color. The final touch? Olive eyes on these tasty chicks!
(Many of the links in this article redirect to a specific reviewed product. Your purchase of these products through affiliate links helps to generate commission for HomePressureCooking.com, at no extra cost. Learn more)
Ever since I chanced upon these adorable deviled eggs looking like Easter peeps, they've been a hit at every gathering! With their charming faces and delightful flavors, you can't help but crack a smile. Combining the creamy, tangy goodness of a classic deviled egg with the whimsy of an Easter chick, this recipe strikes the perfect balance. Trust me, you'll want to get cracking on this one!
Ingredients for Adorable Easter Peep Deviled Eggs
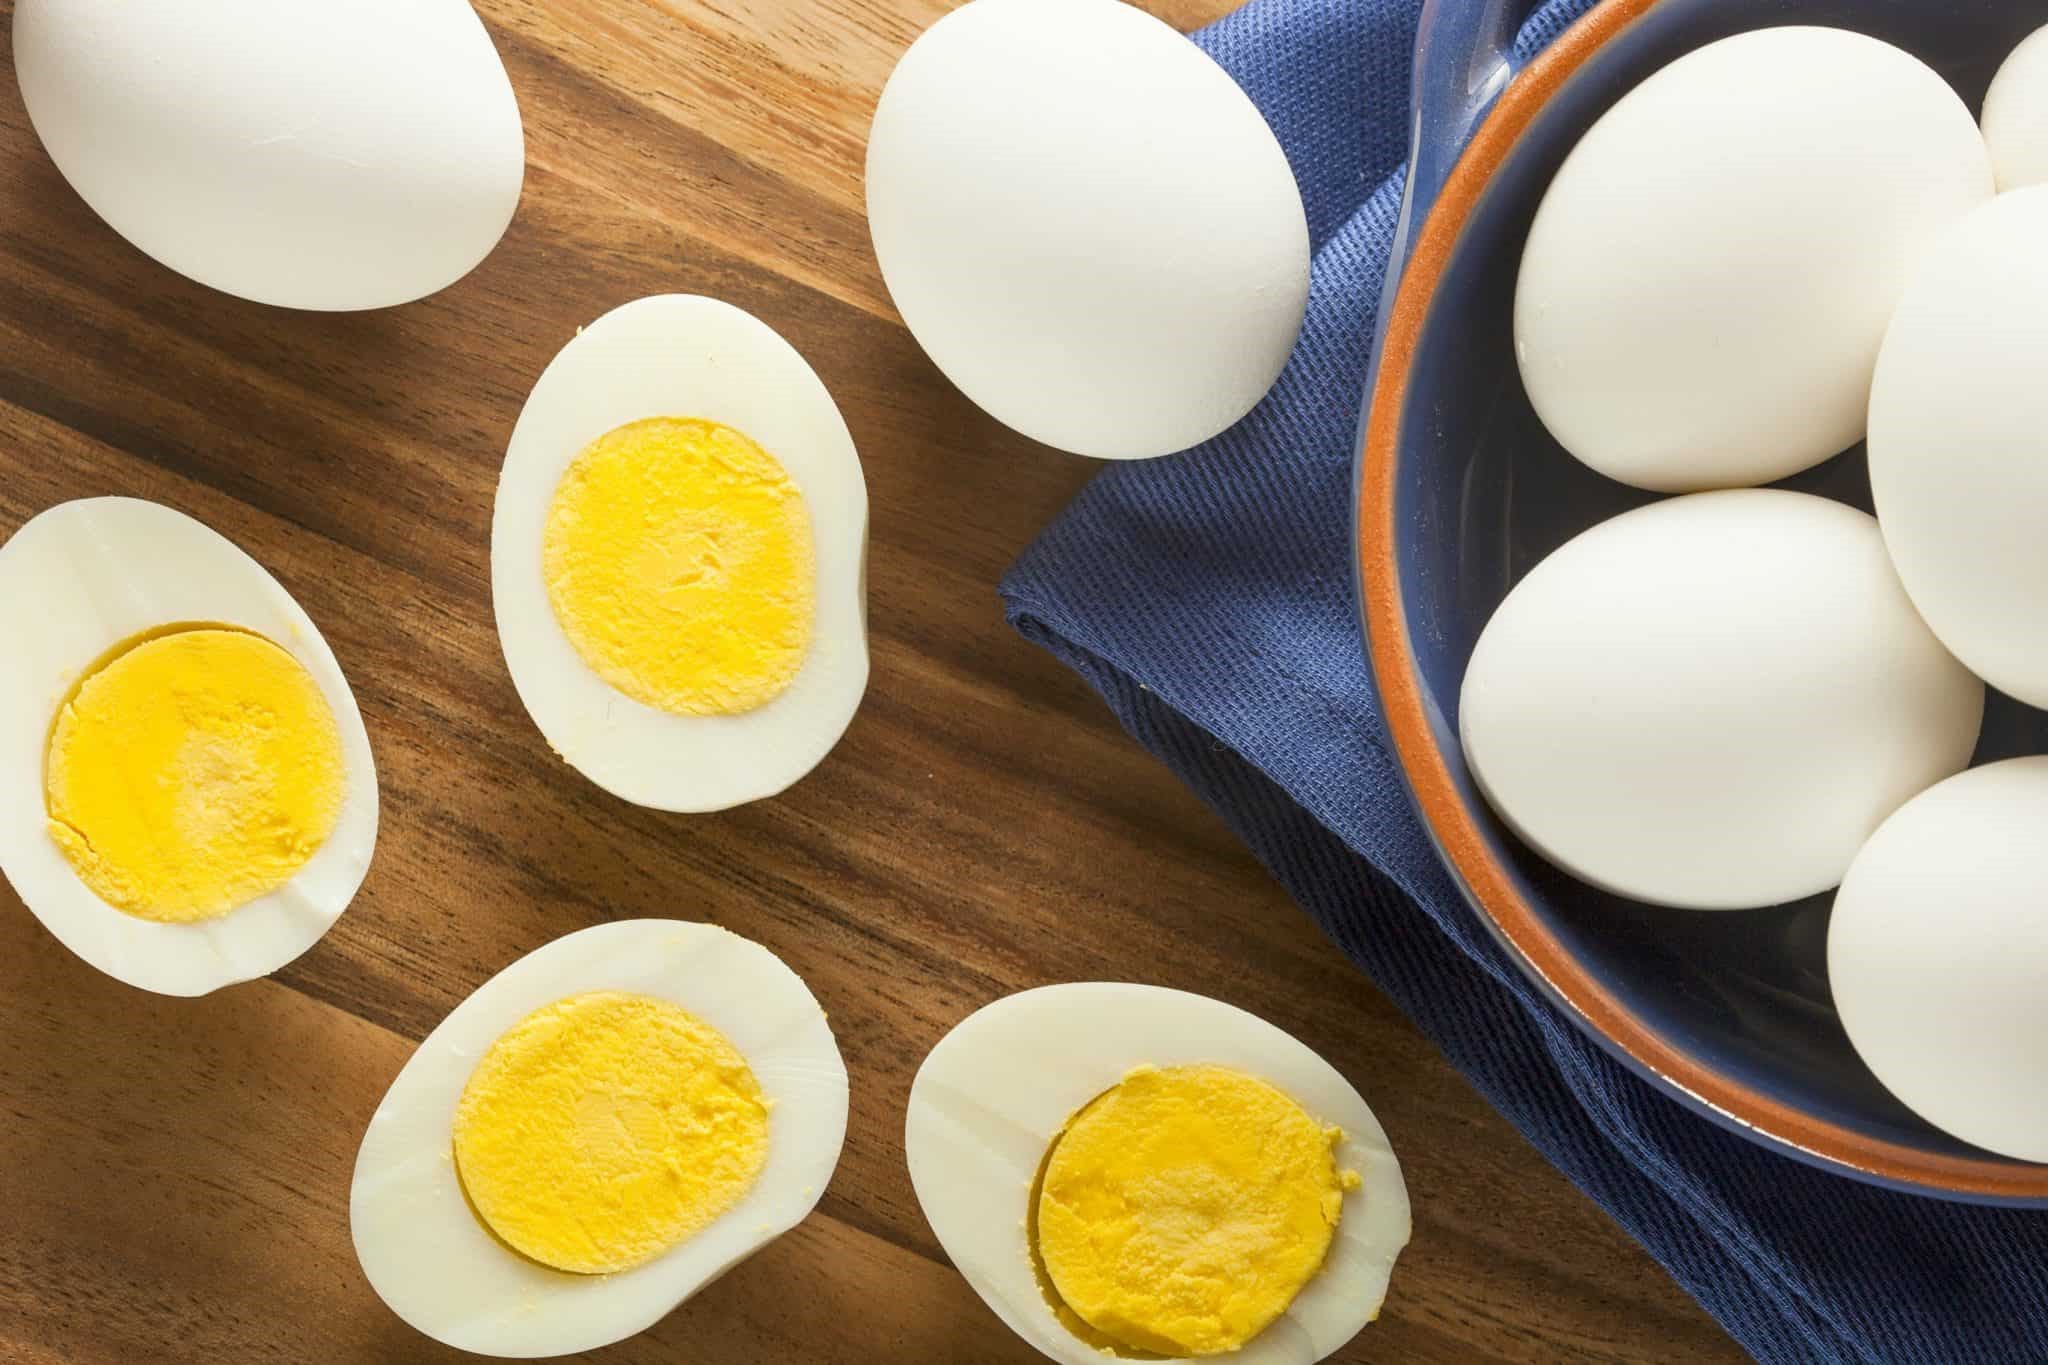
- Hard-boiled eggs: Essential base for deviled eggs, providing protein and texture for the filling.
- Mayonnaise: Adds creaminess and richness to the filling, enhancing the overall flavor and texture of the deviled eggs.
- Mustard: Provides a tangy kick to the filling, balancing the richness of the mayonnaise and adding depth of flavor.
- Yellow and red food coloring: Creates the vibrant colors reminiscent of Easter peeps, adding a fun and festive touch to the dish.
- Black olives: Used for decorating the deviled eggs, adding a whimsical touch as the eyes of the Easter peeps.
When making deviled egg Easter Peeps, try using a piping bag to fill the egg whites for a more professional and neat presentation. This can help control the amount of filling and create a decorative swirl effect on the eggs.
Essential Tools for Making Festive Deviled Eggs
- Mixing bowl: To combine and mix the deviled egg filling ingredients thoroughly for a consistent texture.
- Fork: To mash the egg yolks and mix them with other ingredients effectively for the deviled egg filling.
Common Questions About This Festive Easter Appetizer
Serves: 6 people
Preparation time: 20 minutes
Cooking time: 10 minutes
Total time: 30 minutes
Ingredients:
- 6 hard-boiled eggs
- 2 tablespoons mayonnaise
- 1 teaspoon mustard
- Salt and pepper to taste
- Yellow and red food coloring
- Black olives for decorating
Instructions:
- Cut the hard-boiled eggs in half lengthwise and remove the yolks.
- In a bowl, mash the yolks with mayonnaise, mustard, salt, and pepper.
- Divide the mixture into two bowls. Color one bowl with yellow food coloring and the other with red food coloring.
- Spoon the yellow mixture into one half of the egg whites and the red mixture into the other half.
- Use black olives to create eyes on the yellow side of the eggs.
- Serve and enjoy your Deviled Egg Easter Peeps!
Read more: Scotch Eggs in the Ninja Foodi Recipe
Nutritional value:
Per Serving in Calories: 110 kcal | Carbohydrates: 1 g | Protein: 6 g | Total Fat: 9 g | Saturated Fat: 2 g | Trans Fat: 0 g | Monounsaturated Fat: 3 g | Polyunsaturated Fat: 3 g | Cholesterol: 190 mg | Sodium: 130 mg | Dietary Fiber: 0 g | Sugar: 0 g | Calcium: 30 mg | Potassium: 70 mg | Iron: 1 mg | Vitamin A: 250 µg | Vitamin C: 0 mg
Tips for Preparing Deviled Egg Easter Peeps in Advance
Make Ahead Instructions
- Prepare the deviled eggs as usual and store them in an airtight container in the refrigerator for up to 2 days.
- Wait to add the olive eyes until ready to serve to keep them looking fresh.
Freezing Instructions
- Freezing is not recommended for this recipe as the texture of the eggs may change when thawed.