Home>Recipe>Spinach and Feta Stuffed Chicken with Lemon Sage Sauce Recipe
Recipe
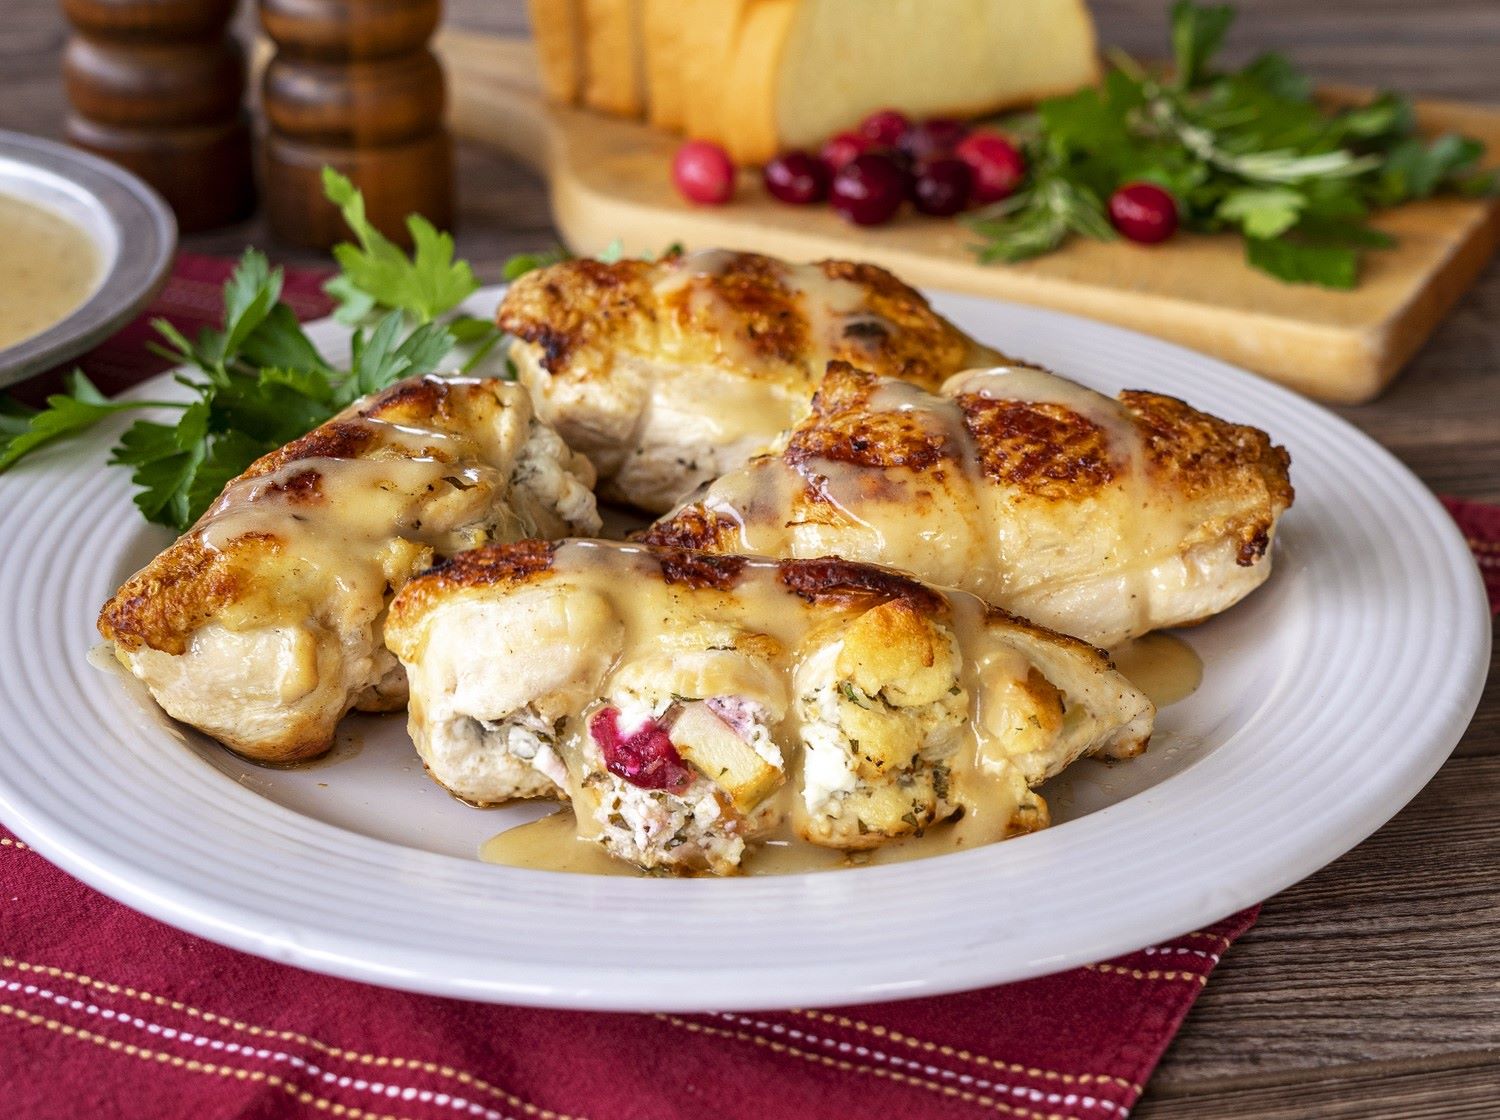
Spinach and Feta Stuffed Chicken with Lemon Sage Sauce Recipe
Published: April 1, 2024
This spinach and feta stuffed chicken recipe is my go-to for impressing dinner guests. Juicy chicken, tangy feta, and fresh spinach, all topped with a zesty lemon sage sauce - pure deliciousness!
(Many of the links in this article redirect to a specific reviewed product. Your purchase of these products through affiliate links helps to generate commission for HomePressureCooking.com, at no extra cost. Learn more)
Ever tried stuffing your chicken with a zesty blend of spinach and feta? Here's my personal favorite: Spinach and Feta Stuffed Chicken with Lemon Sage Sauce. This dish combines the tender juiciness of chicken, the rich taste of feta cheese, and the vibrant flavors of spinach, fresh sage, and lemon. It's easy to whip up and guaranteed to impress - a tantalizing twist your taste buds deserve! Let's dive into how you can make this at home.
Ingredients for Spinach and Feta Stuffed Chicken
- Chicken breasts: Lean protein source that serves as the base for the stuffed chicken, keeping the dish flavorful and satisfying.
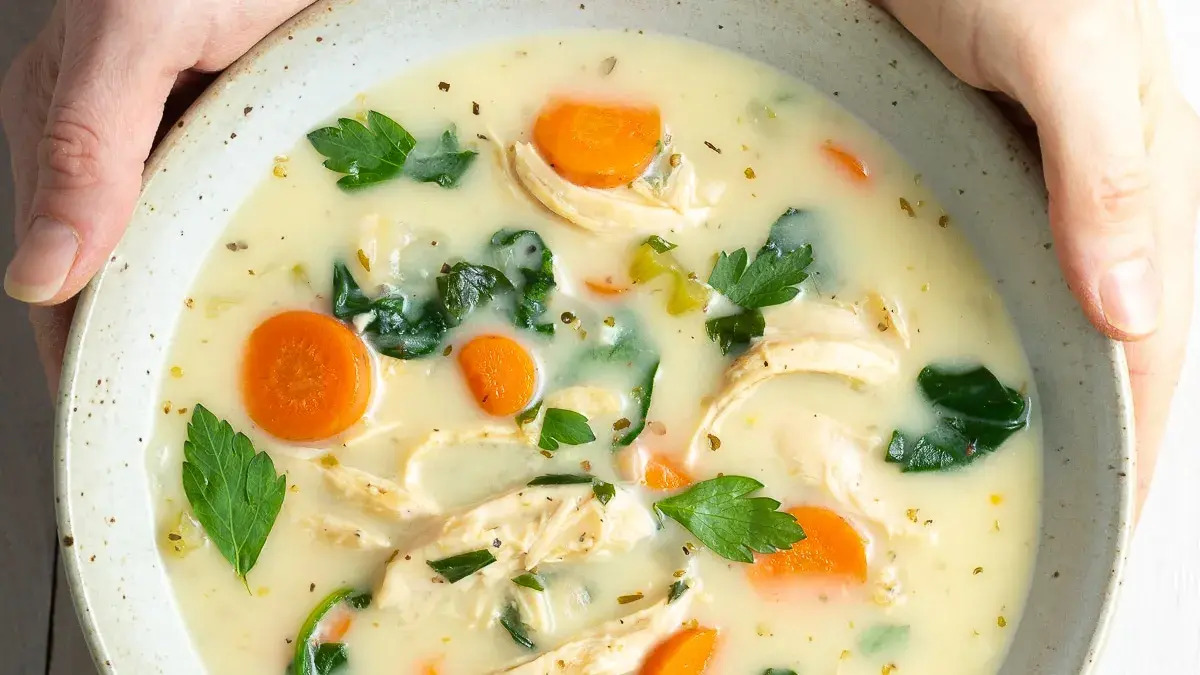
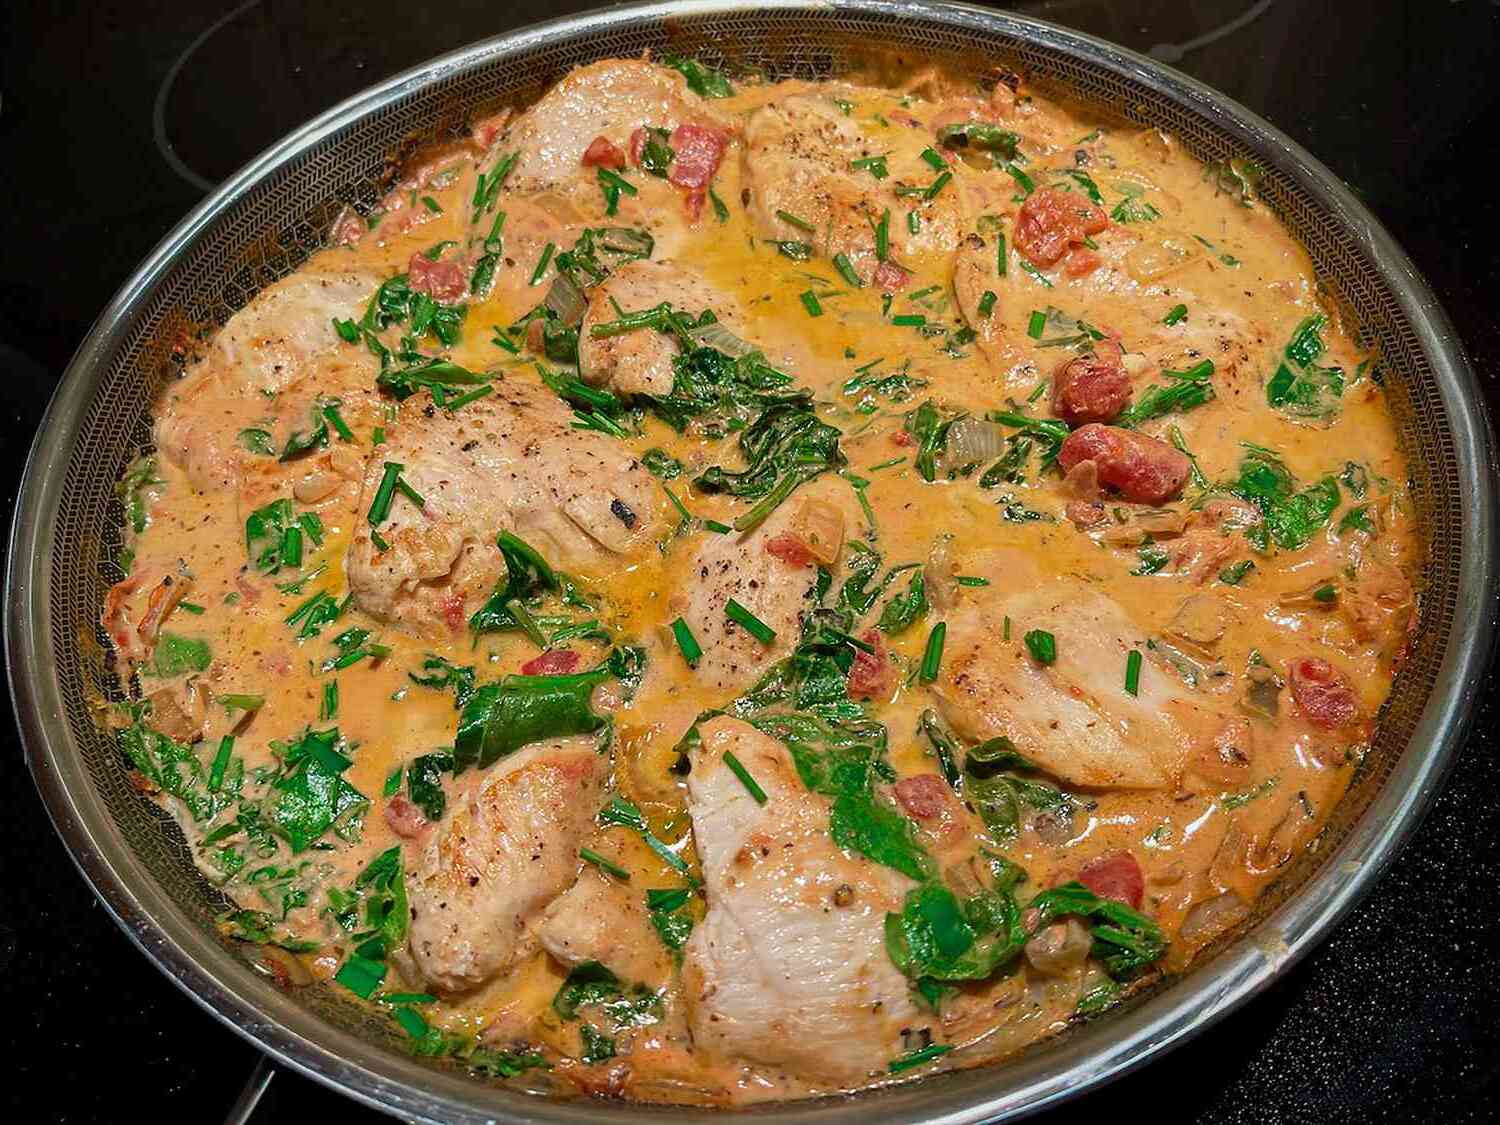
- Spinach: Adds a pop of color and nutrients to the dish, providing a fresh and earthy flavor to complement the chicken.
- Feta cheese: Salty and tangy cheese that melts beautifully, enhancing the richness of the stuffed chicken with its creamy texture.
- Lemon: Brightens the flavors of the dish with its citrusy zing, adding a refreshing and aromatic element to the chicken.
- Garlic: Infuses the dish with a robust and savory flavor, elevating the taste profile of the stuffed chicken.
- Sage: Herbaceous and aromatic, sage adds a warm and earthy note to the dish, enhancing the overall depth of flavors.
One interesting fact about this spinach and feta stuffed chicken with lemon sage sauce recipe is that marinating the chicken breasts in a mixture of lemon juice, olive oil, and garlic before stuffing them can add an extra layer of flavor to the dish. This step helps to tenderize the chicken and infuse it with a zesty taste that complements the spinach and feta filling.
Read more: Baked Feta Strawberry Chicken Salad Recipe
Kitchen Tools Needed
- Baking dish: To bake the stuffed chicken breasts in the oven.
- Skillet: To sear the chicken breasts and make the lemon sage sauce.
Frequently Asked Questions
Serves: 4 people
Preparation time: 20 minutes
Cooking time: 25 minutes
Total time: 45 minutes
Ingredients:
- 4 boneless, skinless chicken breasts
- 1 cup fresh spinach, chopped
- 1/2 cup feta cheese, crumbled
- 1 lemon, juiced and zested
- 2 cloves garlic, minced
- 1 tablespoon fresh sage, chopped
- Salt and pepper to taste
- 2 tablespoons olive oil
Instructions:
- Preheat the oven to 375°F (190°C).
- In a bowl, mix together the spinach, feta cheese, lemon zest, garlic, sage, salt, and pepper.
- Cut a pocket into each chicken breast and stuff with the spinach and feta mixture.
- Heat olive oil in an oven-safe skillet over medium-high heat.
- Sear the stuffed chicken breasts for 2-3 minutes per side until golden brown.
- Transfer the skillet to the preheated oven and bake for 20-25 minutes or until the chicken is cooked through.
- In the same skillet, add lemon juice and simmer for a few minutes to make a sauce.
- Serve the stuffed chicken with the lemon sage sauce drizzled on top.
Nutritional value:
Per Serving in Calories: 320 kcal | Carbohydrates: 4 g | Protein: 30 g | Total Fat: 20 g | Saturated Fat: 6 g | Trans Fat: 0 g | Monounsaturated Fat: 10 g | Polyunsaturated Fat: 3 g | Cholesterol: 90 mg | Sodium: 400 mg | Dietary Fiber: 1 g | Sugar: 1 g | Calcium: 150 mg | Potassium: 450 mg | Iron: 2 mg | Vitamin A: 200 µg | Vitamin C: 15 mg
Can You Make Spinach and Feta Stuffed Chicken Ahead of Time?
Make Ahead Instructions
- Prepare the spinach and feta stuffed chicken as directed but do not cook.
- Store the stuffed chicken in an airtight container in the refrigerator for up to 24 hours before cooking.
Freezing Instructions
- Wrap the uncooked stuffed chicken individually in plastic wrap and place them in a freezer-safe bag.
- Freeze for up to 3 months.
- Thaw overnight in the refrigerator before cooking as directed.