Recipe
Decadent Instant Pot Oreo Cheesecake Recipe
Published: April 1, 2024
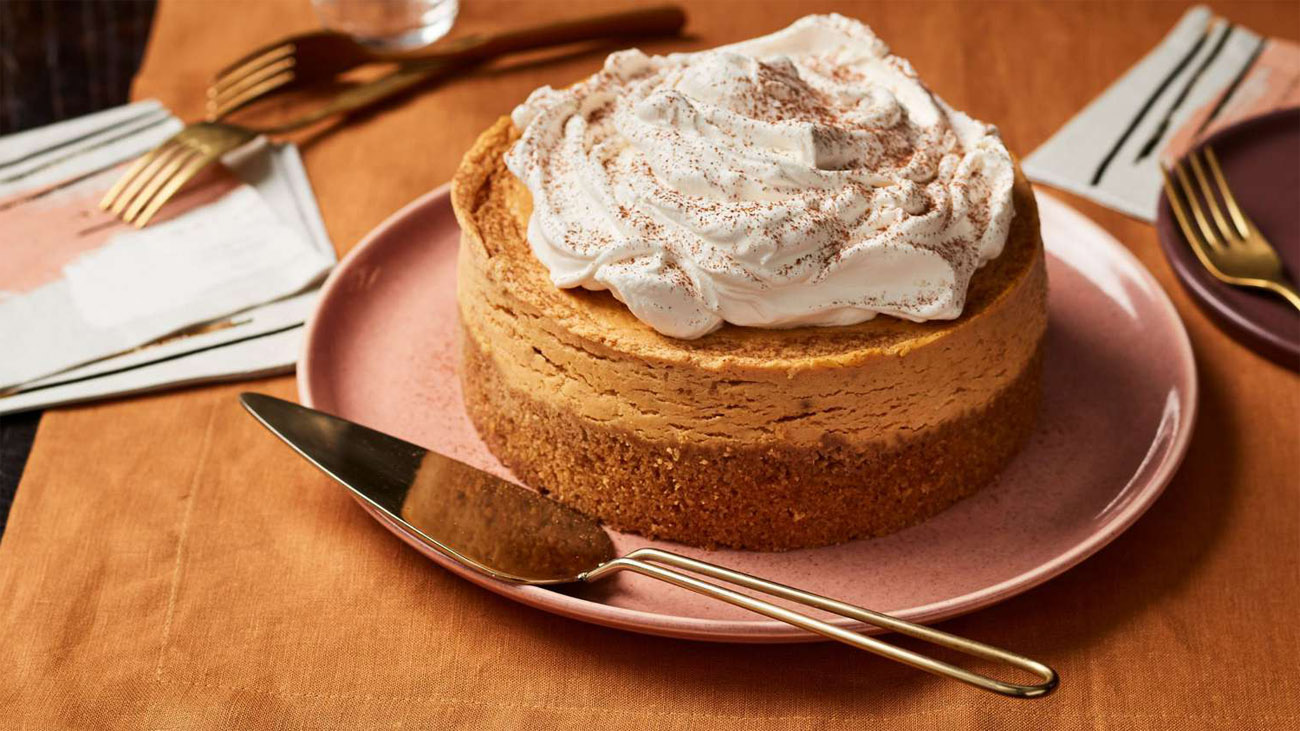
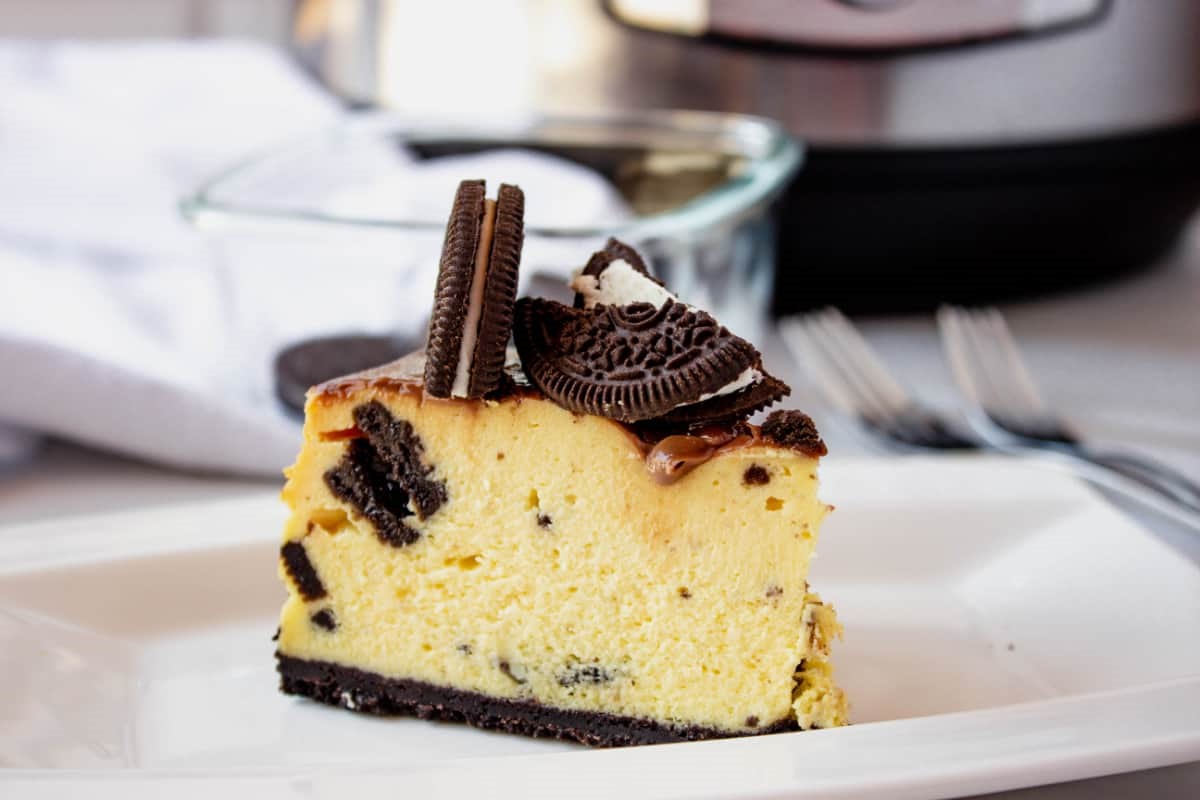
This Oreo cheesecake recipe is my go-to for a quick, decadent dessert. It's creamy, rich, and the instant pot makes it a breeze. The crushed Oreo topping? That's the cherry on top!
(Many of the links in this article redirect to a specific reviewed product. Your purchase of these products through affiliate links helps to generate commission for HomePressureCooking.com, at no extra cost. Learn more)
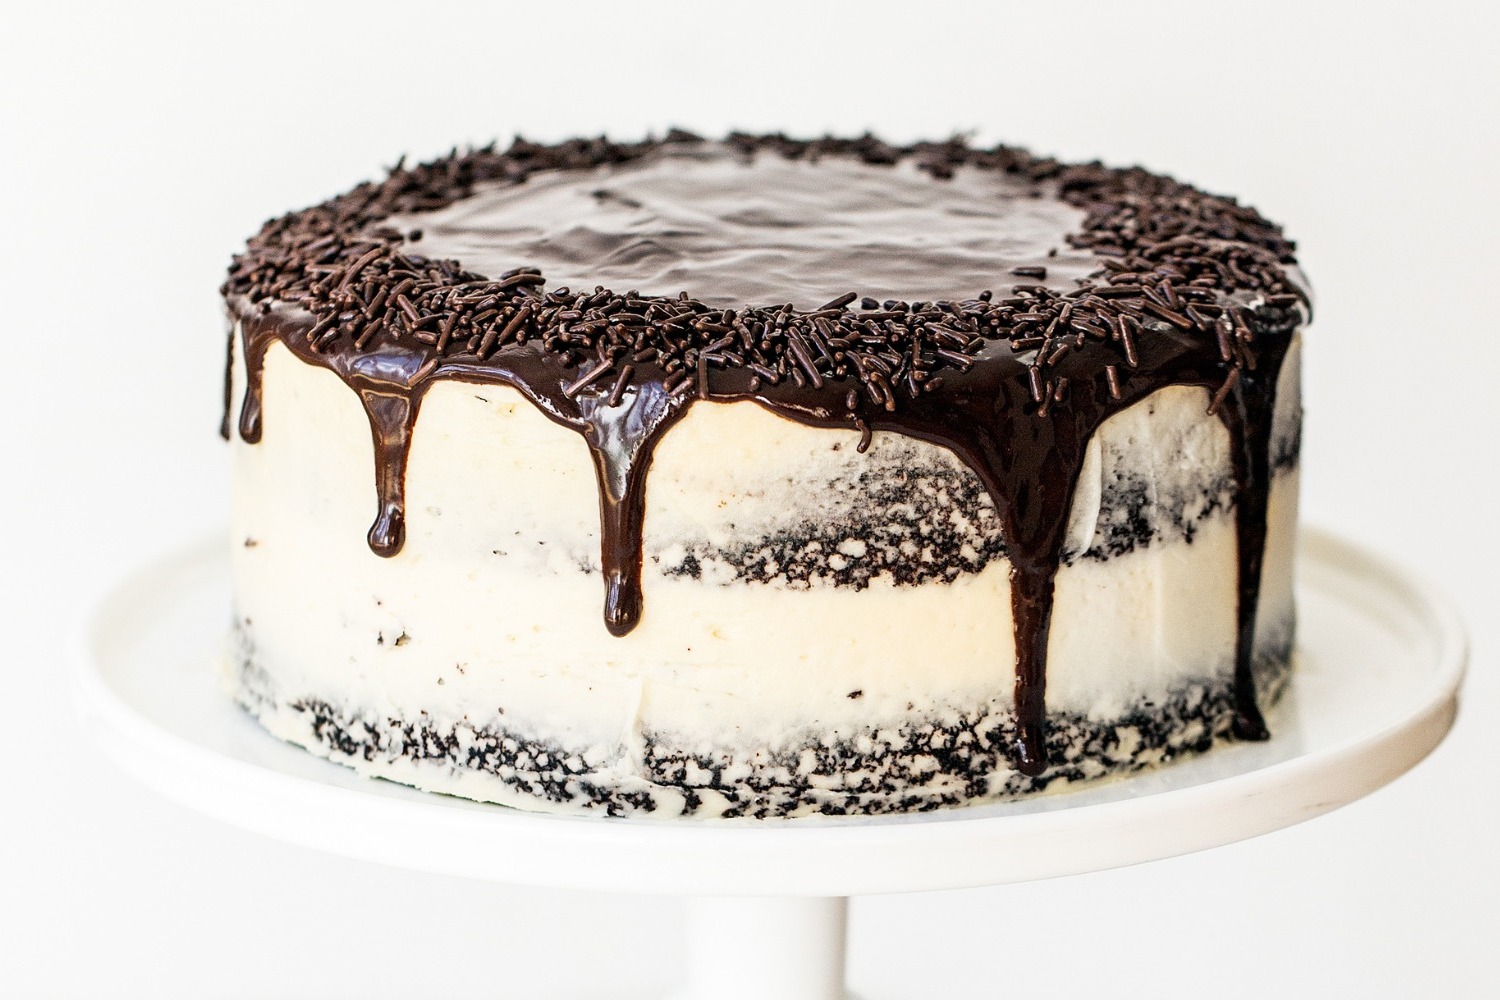
Welcome to my kitchen! Today, we're whipping up my favorite - an indulgent Instant Pot Oreo Cheesecake. This isn't just a cake; it's a creamy, crunchy symphony of flavors. The crushed Oreos blend beautifully with the rich cream cheese, and beneath all that decadence, a surprise Oreo crust awaits! Reward your taste buds; let's create edible magic with our Instant Pot!
Ingredients for a Decadent Oreo Cheesecake
- Oreo cookies: Provide a crunchy chocolate base and add a rich, chocolatey flavor to the cheesecake.
- Butter: Adds richness and helps bind the crust together for a delicious and sturdy base for the cheesecake.
- Cream cheese: Forms the creamy and tangy base of the cheesecake, providing a smooth and decadent texture.
- Sugar: Sweetens the cheesecake filling, balancing the tanginess of the cream cheese and enhancing the overall flavor.
- Vanilla extract: Infuses a warm and aromatic flavor into the cheesecake, complementing the sweetness and richness of the other ingredients.
- Eggs: Act as a binding agent, helping to set the cheesecake filling and provide structure to the dessert.
- Sour cream: Adds a tangy flavor and creamy texture to the cheesecake, enhancing richness and balancing sweetness.
- All-purpose flour: Helps to stabilize the cheesecake filling and prevent it from cracking during the cooking process.
- Crushed oreo cookies: Serve as a delicious and crunchy topping, adding extra texture and flavor to the finished cheesecake.
Did you know that adding a tablespoon of lemon juice to the cheesecake batter can enhance the flavor and give it a subtle tanginess that complements the sweetness of the Oreos? It's a simple trick that can take your dessert to the next level!
Read more: Instant Pot Cheesecake Recipe Guide
Essential Tools for Making an Instant Pot Cheesecake
- Instant Pot: Speeds up cooking process by using high pressure and steam to cook the cheesecake quickly and evenly.
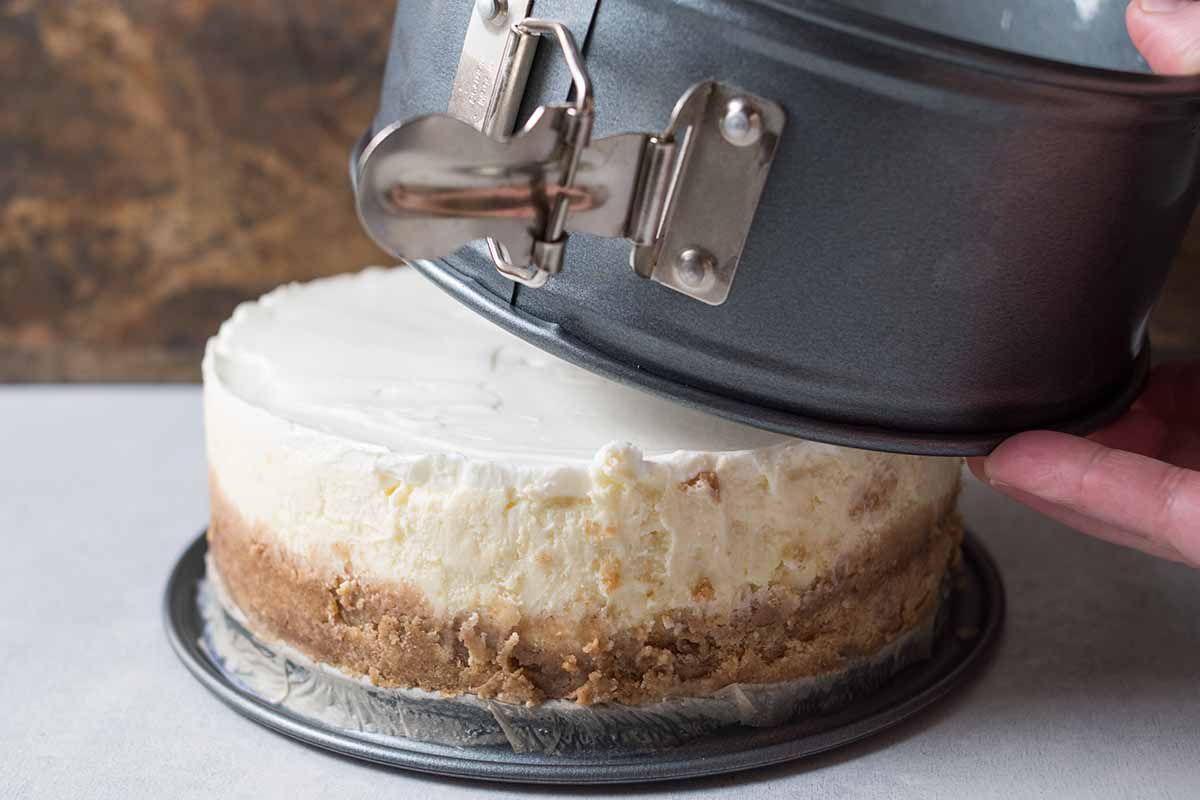
- 7-inch Springform Pan: Essential for baking the cheesecake and easily removing it without damaging the delicate dessert.
Common Questions About Making an Oreo Cheesecake in an Instant Pot
Serves: 8 people
Preparation time: 20 minutes
Cooking time: 35 minutes
Total time: 55 minutes
Ingredients:
- 24 Oreo cookies
- 2 tablespoons melted butter
- 16 oz cream cheese, softened
- 1/2 cup sugar
- 1 teaspoon vanilla extract
- 2 eggs
- 1/2 cup sour cream
- 1 tablespoon all-purpose flour
- 1/2 cup crushed Oreo cookies for topping
Instructions:
- Crush 24 Oreo cookies and mix with melted butter. Press into the bottom of a greased 7-inch springform pan.
- In a bowl, beat cream cheese, sugar, and vanilla extract until smooth. Add eggs one at a time, mixing well after each addition.
- Stir in sour cream and flour until just combined. Pour the mixture over the crust.
- Cover the pan with foil and place on a trivet in the Instant Pot. Add 1 cup of water to the pot.
- Close the lid, set to sealing, and cook on high pressure for 35 minutes. Allow for a natural pressure release.
- Carefully remove the cheesecake and let it cool before refrigerating for at least 4 hours.
- Sprinkle crushed Oreo cookies on top before serving.
Nutritional value:
Per Serving in Calories: 450 kcal | Carbohydrates: 35 g | Protein: 6 g | Total Fat: 32 g | Saturated Fat: 16 g | Trans Fat: 0 g | Monounsaturated Fat: 9 g | Polyunsaturated Fat: 4 g | Cholesterol: 105 mg | Sodium: 320 mg | Dietary Fiber: 1 g | Sugar: 25 g | Calcium: 80 mg | Potassium: 150 mg | Iron: 2 mg | Vitamin A: 400 µg | Vitamin C: 0 mg
Preparing and Storing Your Oreo Cheesecake for Later
Make Ahead Instructions
- Prepare the cheesecake as directed and let it cool completely.
- Cover the springform pan with plastic wrap and refrigerate for up to 2 days.
- When ready to serve, add the crushed oreo topping before serving.
Freezing Instructions
- After cooling, wrap the cheesecake (without the topping) tightly in plastic wrap and foil.
- Freeze for up to 2 months.
- Thaw overnight in the refrigerator before adding the crushed oreo topping and serving.