Article
How to Make a Poke Cake in the Ninja Foodi
Modified: April 4, 2024
(Many of the links in this article redirect to a specific reviewed product. Your purchase of these products through affiliate links helps to generate commission for HomePressureCooking.com, at no extra cost. Learn more)
A Step-by-Step Guide to Making a Poke Cake in the Ninja Foodi
Ever wished for dessert-making to be as fun as it is delicious? Poke cakes provide just that experience, blending ease of preparation with a variety of flavors that make each bite a delight. If you own a Ninja Foodi, this versatile kitchen appliance isn’t just for savory meals; it’s perfect for whipping up a scrumptious poke cake too. Below is a detailed guide on creating this delightful dessert, ensuring a mouth-watering result that will impress guests and satisfy sweet tooths alike.
What You’ll Need
Before we start, let’s gather all the ingredients and tools. Here’s what you’ll need:
- Cake Ingredients
- 1 box of cake mix (any flavor you prefer)
- Ingredients listed on the box (usually eggs, water, and oil)
- Filling Ingredients
- 1 box of Jell-O or pudding mix
- Milk (for the pudding) or boiling water (for the Jell-O)
- Topping
- 1 tub of whipped topping
- Additional toppings like shredded coconut, crushed cookies, or sprinkles (optional)
As for the tools, you’ll need the Ninja Foodi, a 7-inch springform pan that fits inside the Foodi, a mixing bowl, a whisk, and a wooden spoon or spatula.
The Process
Now that we have everything ready, let’s get started!
Step 1: Prepare the Cake Mix
Follow the instructions on the cake mix box. Mix the cake batter in a bowl, then pour it into the greased springform pan.
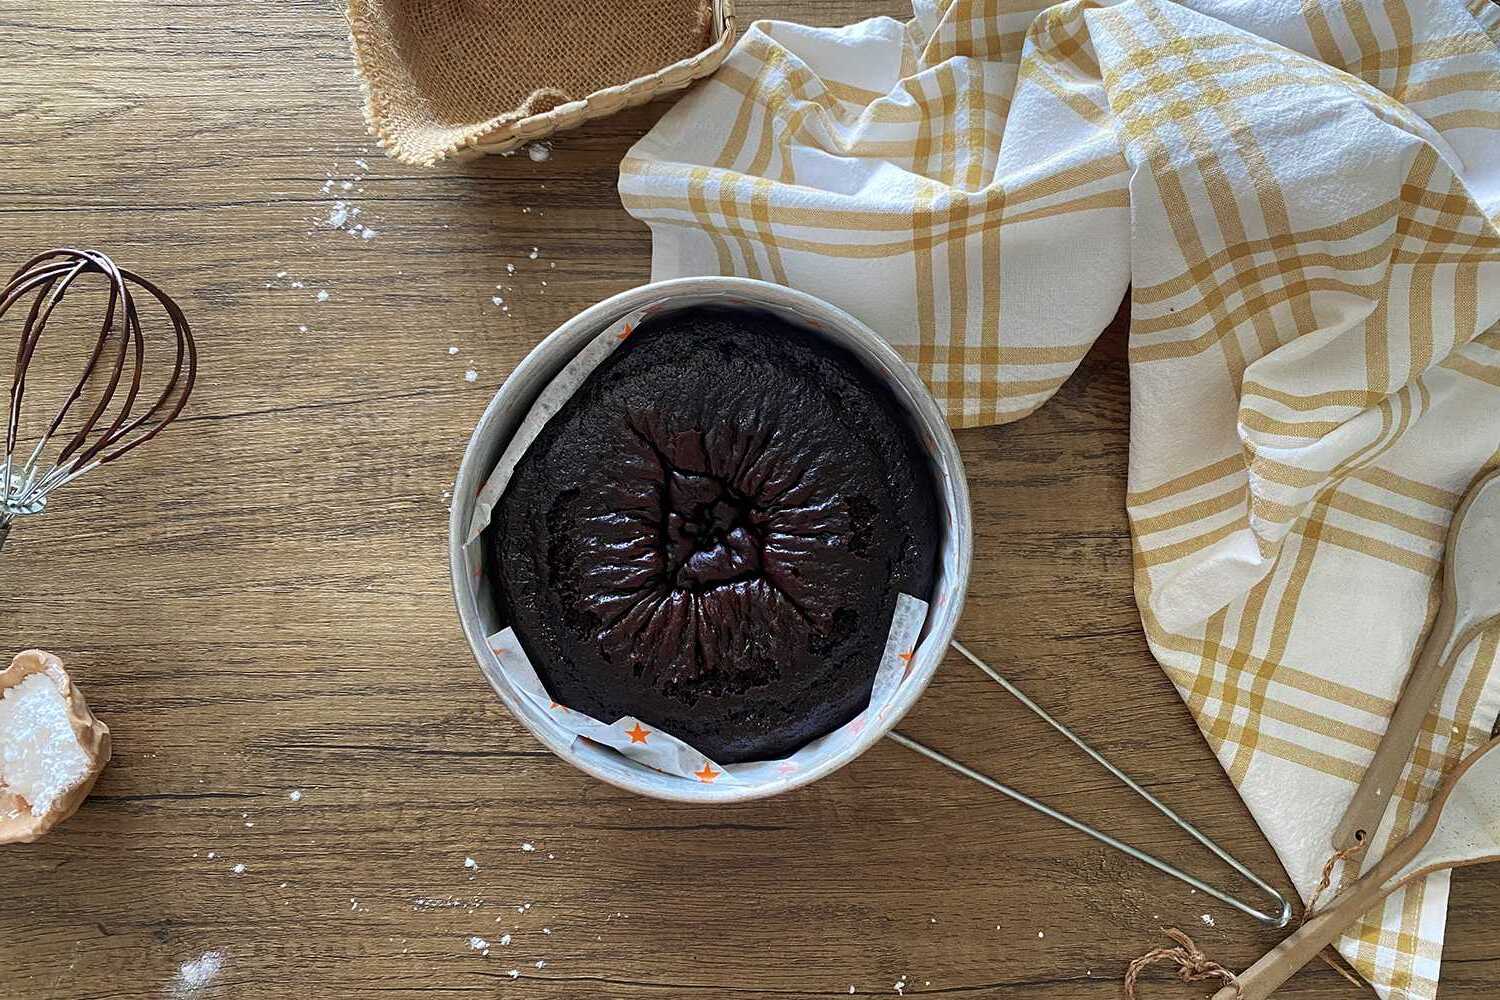
Step 2: Bake the Cake
Place the pan into the Ninja Foodi. Close the lid (make sure it’s set to venting), select the ‘Bake/Roast’ function, set the temperature to 350°F (or as directed on the box), and the time to 25 minutes.
Step 3: Prepare the Filling
While the cake is baking, prepare your filling. If you’re using Jell-O, dissolve it in boiling water as per the instructions on the box. If you’re using pudding, mix it with milk until it’s smooth.
Step 4: Poke Holes and Add Filling
Once the cake is done, let it cool for a few minutes. Then, using the handle of a wooden spoon, poke holes all over the cake. Pour the Jell-O or pudding over the cake, making sure it seeps into the holes.
Step 5: Add the Topping
Spread the whipped topping evenly over the cake. If you’re using additional toppings, sprinkle them on now.
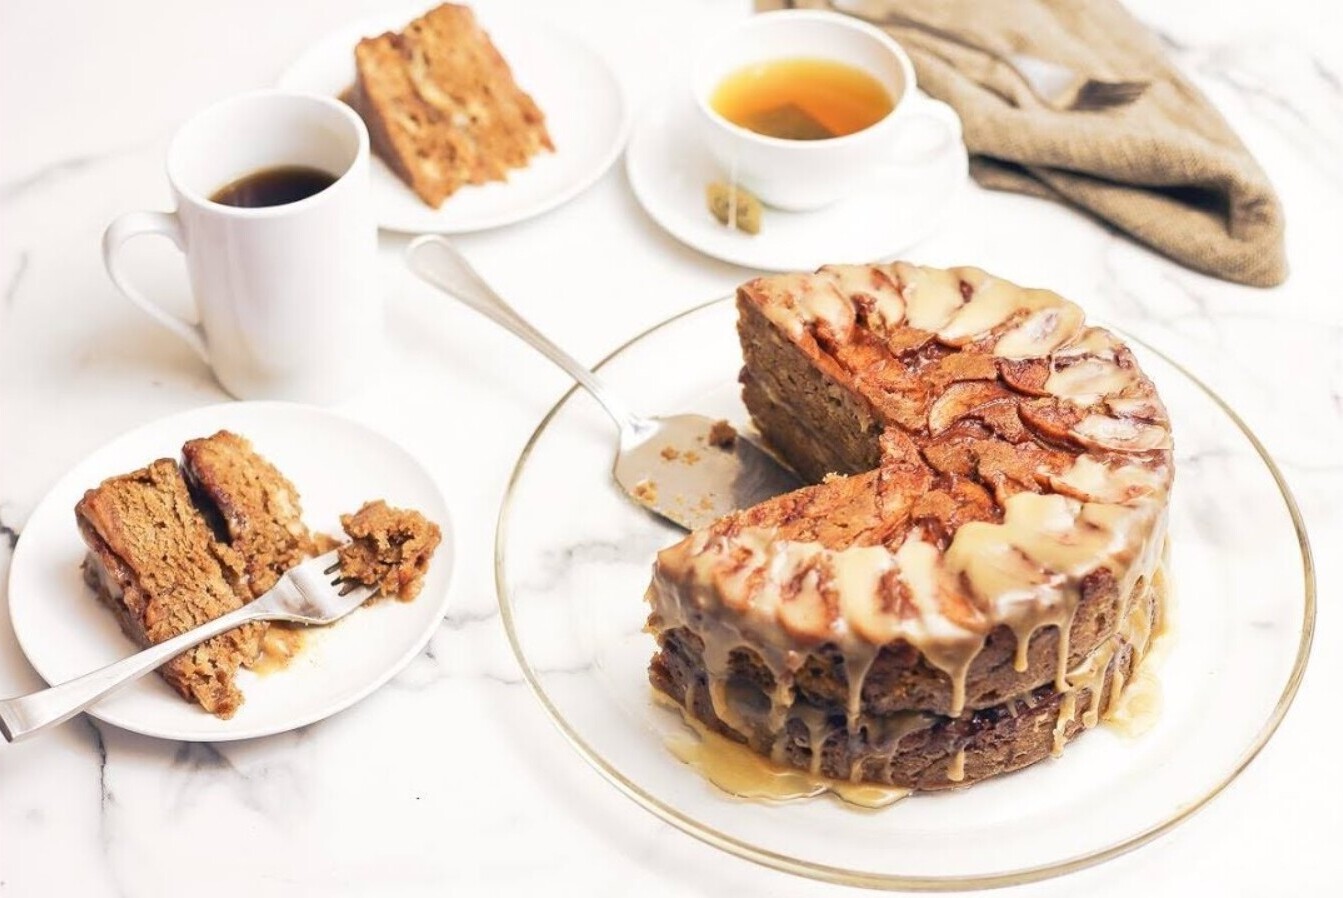
Step 6: Chill and Serve
Finally, put the cake in the fridge for a few hours to let the filling set. Once it’s chilled, it’s ready to serve!
Final Thoughts
Creating a poke cake in your Ninja Foodi is a breeze and an excellent way to explore different flavor combinations. This guide provides the foundation, but don’t hesitate to experiment with fillings, toppings, and cake flavors. Each poke cake is a canvas waiting for your culinary creativity. So, why wait? Start baking and let your Ninja Foodi reveal its sweeter side!