Home>Article>How to Bake a Cake in the 3 Qt Mini Instant Pot
Article
How to Bake a Cake in the 3 Qt Mini Instant Pot
Modified: April 4, 2024
(Many of the links in this article redirect to a specific reviewed product. Your purchase of these products through affiliate links helps to generate commission for HomePressureCooking.com, at no extra cost. Learn more)
The Magic of Mini Instant Pot Baking
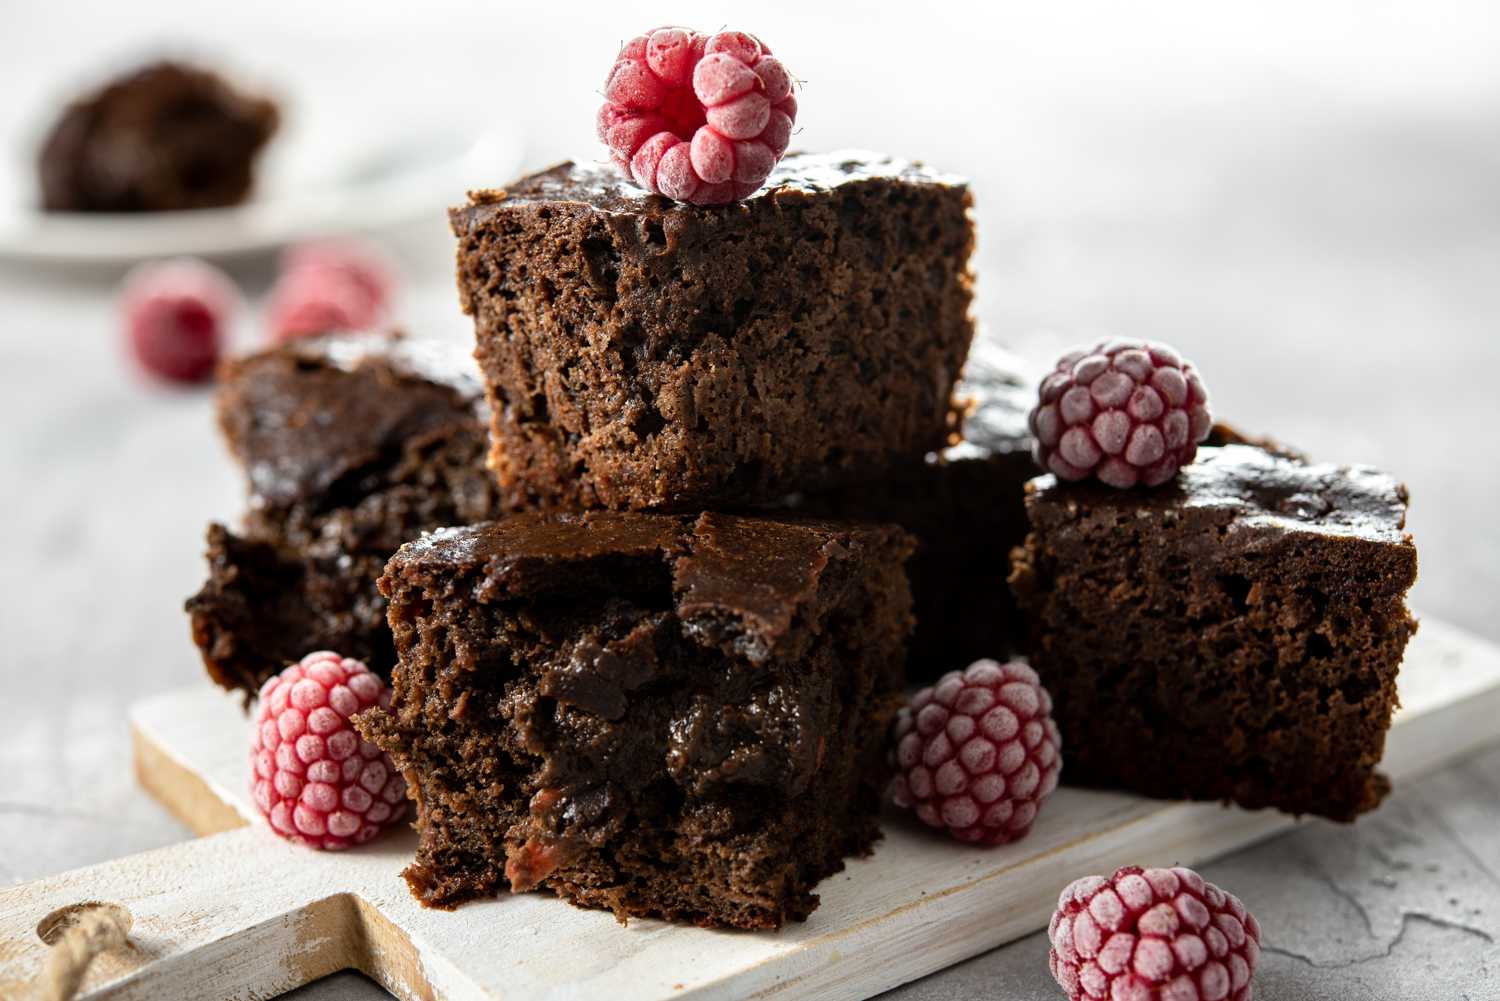
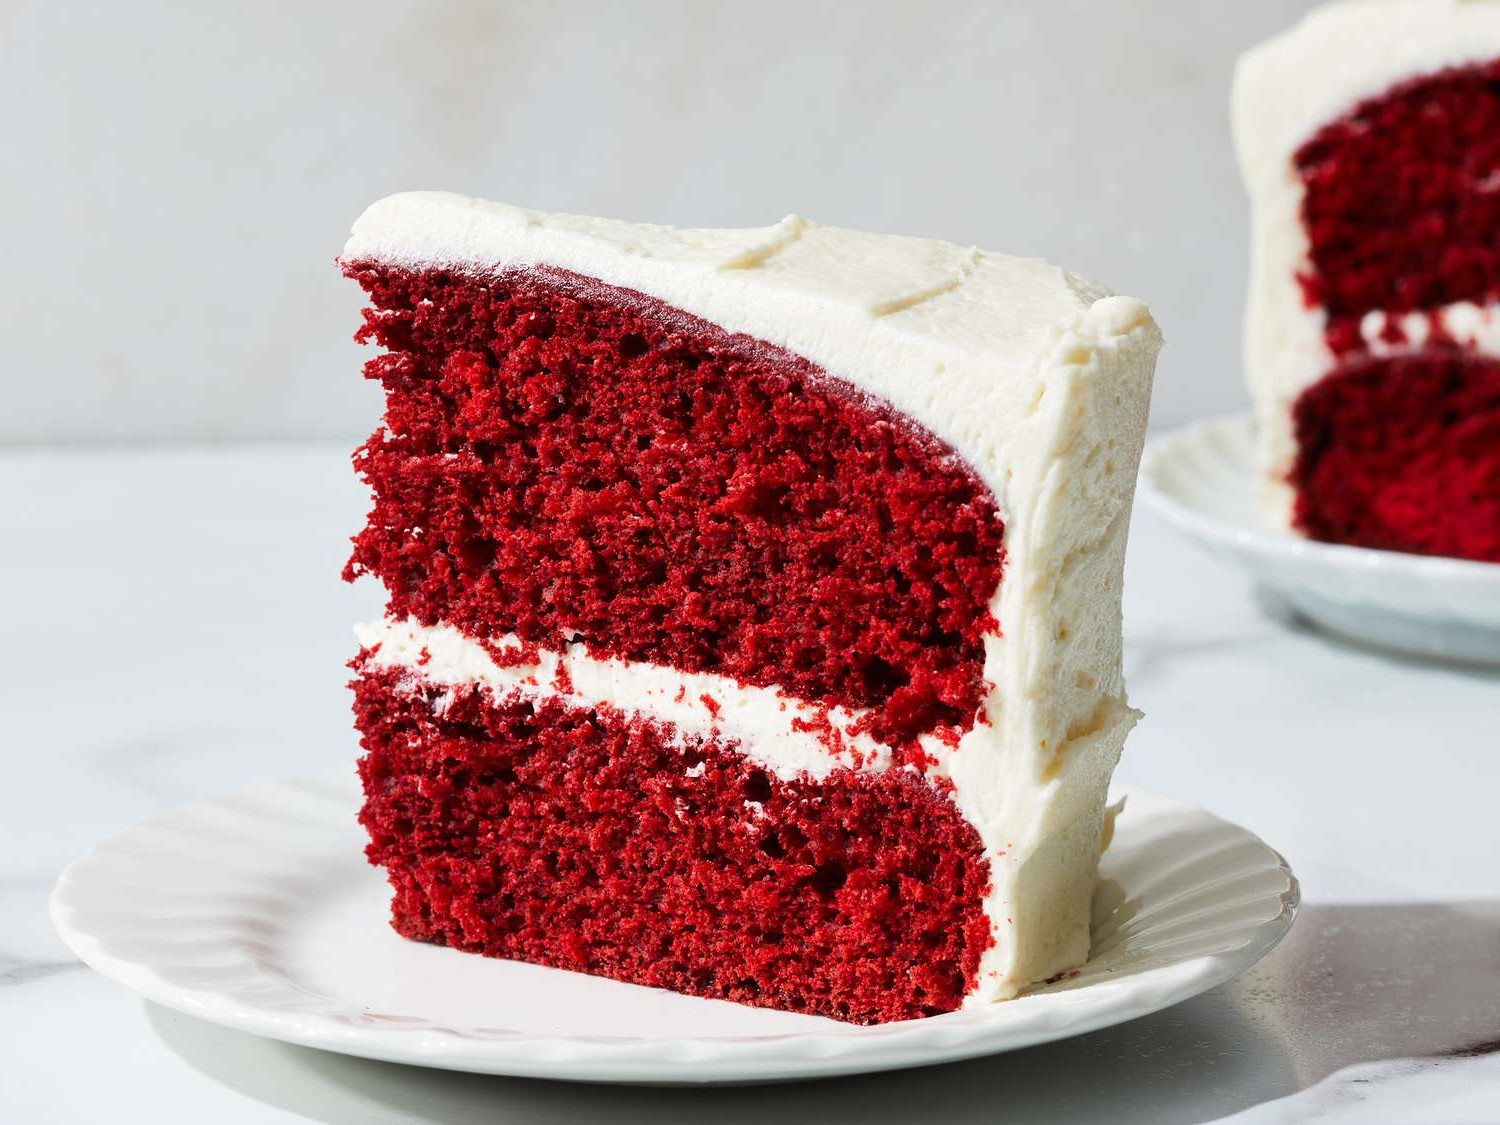
Baking a cake in a 3 Qt Mini Instant Pot might sound like a culinary challenge, but with the right guidance, you can turn this compact kitchen gadget into your secret weapon for creating delectable desserts. Instant Pots have revolutionized cooking by making it faster and more efficient, and yes, they can even handle cakes. Whether you’re craving a classic chocolate cake or something more adventurous, this guide will walk you through the steps to achieve baking success in your mini pressure cooker.
Ingredients You’ll Need
Before we start, let’s gather all the ingredients. For a basic vanilla cake, you’ll need:
- 1 1/2 cups of all-purpose flour
- 1 1/2 teaspoons of baking powder
- 1/4 teaspoon of salt
- 1/2 cup of unsalted butter, softened
- 1 cup of granulated sugar
- 2 large eggs
- 2 teaspoons of pure vanilla extract
- 1/2 cup of milk
Preparing Your Instant Pot
Before we start mixing, let’s get your Instant Pot ready.
- Insert the steam rack into your Instant Pot. This will keep your cake pan off the bottom and allow steam to circulate.
- Add 1 1/2 cups of water to the pot. This will provide the steam for cooking.
Mixing the Cake Batter
Now, let’s get to the fun part – mixing the cake batter.
- Combine the dry ingredients. In a medium bowl, whisk together the flour, baking powder, and salt.
- Cream the butter and sugar. In a large bowl, beat the softened butter and sugar until it’s light and fluffy.
- Add the eggs and vanilla. Beat in the eggs one at a time, followed by the vanilla extract.
- Alternate adding dry ingredients and milk. Begin and end with the dry ingredients. This helps keep the batter smooth and well mixed.
Baking the Cake
With your batter ready, it’s time to bake.
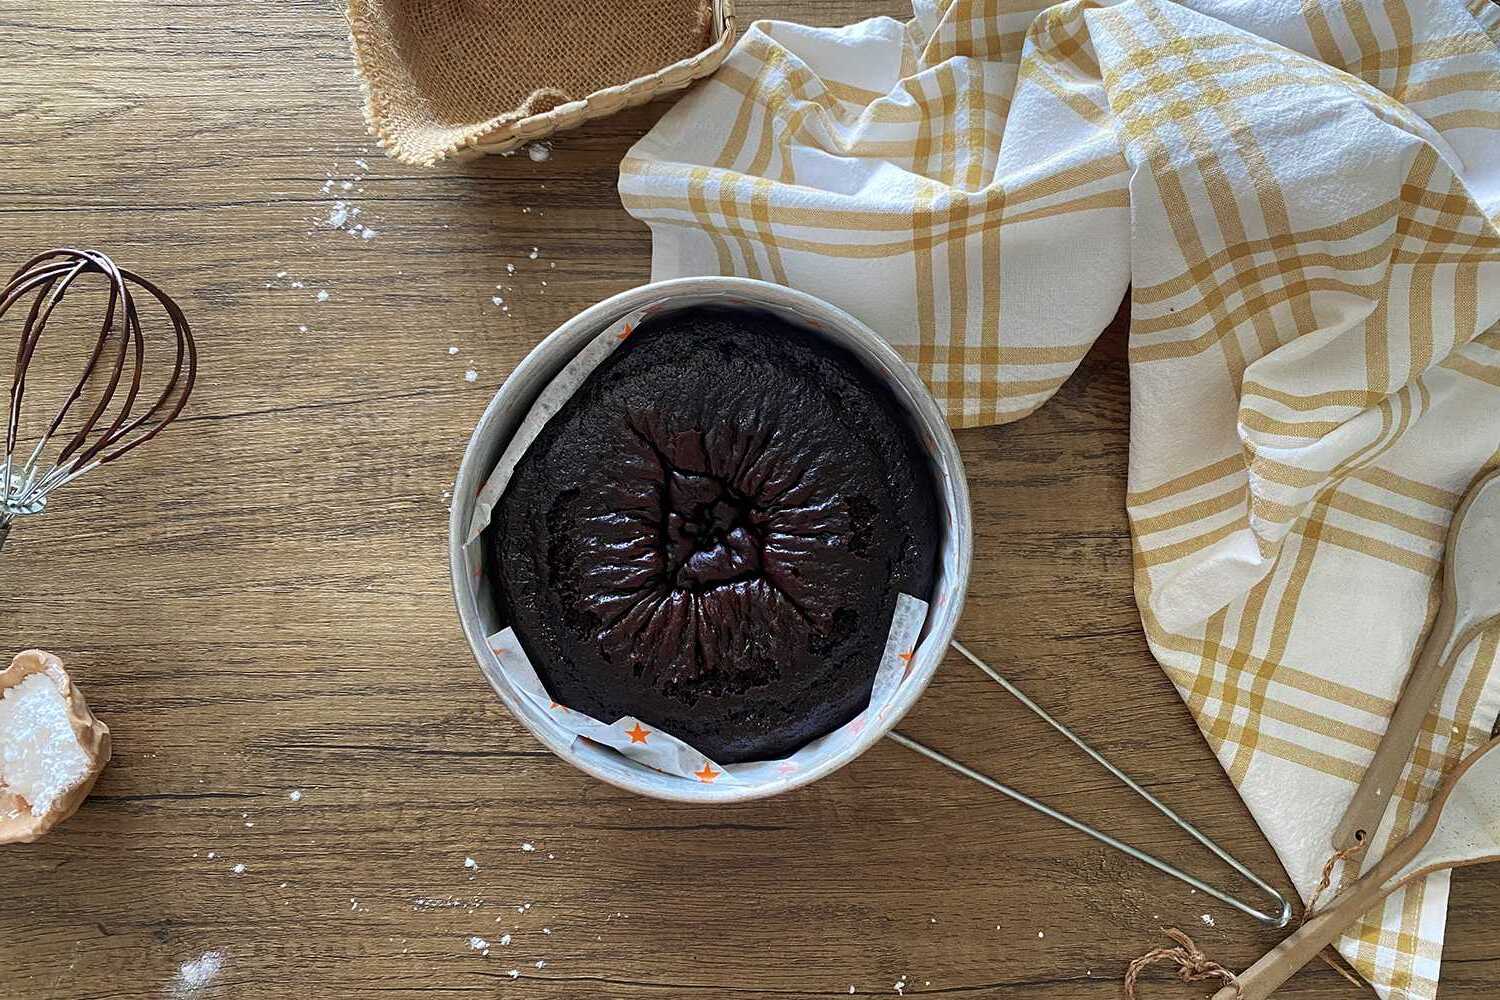
- Pour the batter into a greased cake pan that fits inside your Instant Pot. A 6-inch round pan works well.
- Cover the pan with foil. This prevents condensation from dripping onto your cake.
- Lower the pan into the Instant Pot using a foil sling or silicone bakeware sling.
- Set your Instant Pot to high pressure for 50 minutes. Once the time is up, let the pressure release naturally for 10 minutes, then quick release any remaining pressure.
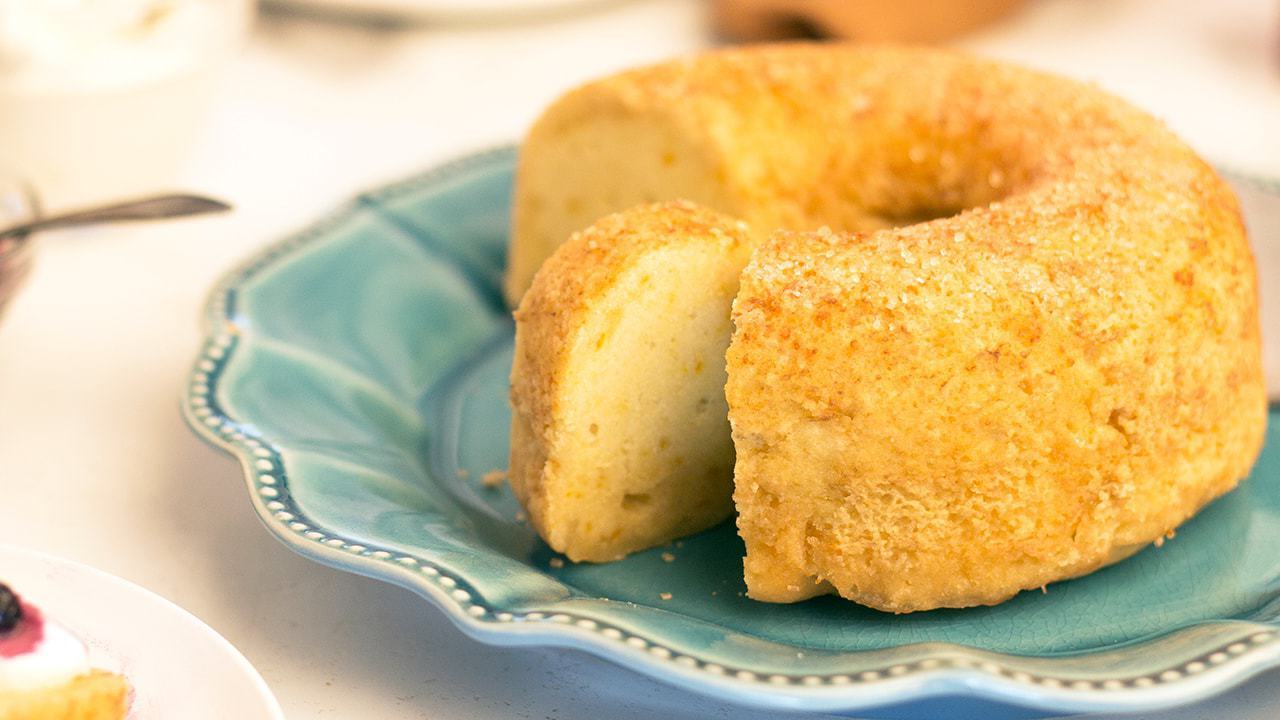
- Carefully remove the cake from the pot. Let it cool in the pan for a few minutes, then turn it out onto a wire rack to cool completely.
Who would have thought that your 3 Qt Mini Instant Pot could produce such delightful desserts? With this guide, you’re well on your way to impressing friends and family with your baking prowess, all without turning on the oven. Enjoy the simplicity and satisfaction of Instant Pot baking, and let your culinary creativity soar. Happy baking!