Article
How to Clean Your Instant Pot Pressure Cooker
Modified: April 4, 2024
(Many of the links in this article redirect to a specific reviewed product. Your purchase of these products through affiliate links helps to generate commission for HomePressureCooking.com, at no extra cost. Learn more)
A Step-by-Step Guide to Cleaning Your Instant Pot Pressure Cooker
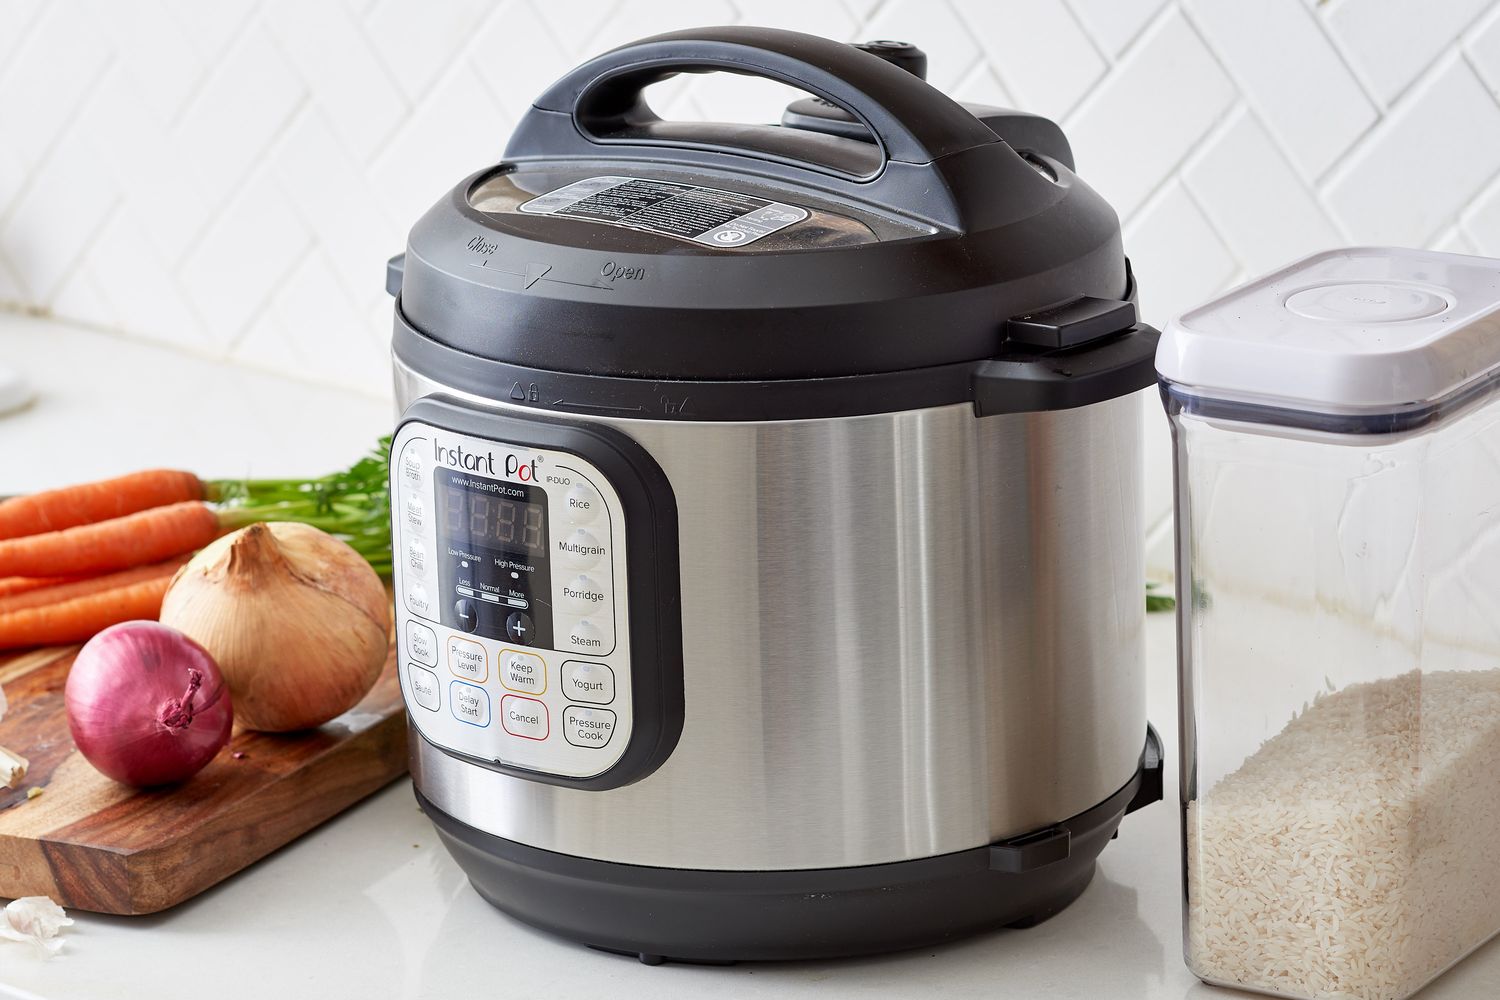
Cleaning an Instant Pot pressure cooker isn’t exactly a walk in the park, but neither does it have to be a chore you dread. With its multiple components and electronic nature, ensuring your Instant Pot remains sparkling and functional requires a bit more finesse than scrubbing a simple pot or pan. Yet, maintaining cleanliness after each use not only guarantees delicious meals but also prolongs the life of your beloved kitchen gadget. Here’s your go-to guide for keeping that Instant Pot in tip-top shape.
Step 1: Unplug and Disassemble
Before you start, make sure your Instant Pot is unplugged and cool. Safety first! Then, remove the inner pot and the sealing ring from the lid. The steam rack, if you have one, should also be removed.
Step 2: Clean the Inner Pot
The inner pot of your Instant Pot is dishwasher safe, so you can simply pop it in the dishwasher. If you prefer to hand wash, use warm soapy water and a non-abrasive sponge. Rinse thoroughly and dry before reassembling.
Step 3: Wash the Sealing Ring
The sealing ring can absorb food odors over time. To clean it, soak it in a mixture of vinegar and water for a few hours, then rinse and dry. It’s also dishwasher safe, so feel free to toss it in there if you prefer.
Step 4: Wipe Down the Lid
Use a damp cloth to wipe down the inside of the lid. Pay special attention to the steam release valve and the float valve, where food particles can get stuck. If necessary, use a small brush to clean these parts.
Read more: Steak Recipes for Your Pressure Cooker
Step 5: Clean the Exterior
Wipe down the exterior of your Instant Pot with a damp cloth. Avoid using harsh chemicals or abrasive cleaners, as they can damage the finish.
Step 6: Let Everything Dry
Before reassembling your Instant Pot, make sure all parts are completely dry. This will prevent any unwanted moisture or bacteria buildup.
Step 7: Regular Maintenance
Remember to replace the sealing ring every 12-24 months, or if you notice any cracks or damage. Also, if you notice a change in cooking times or if the pot isn’t sealing properly, it might be time for a new ring.
Maintaining your Instant Pot with regular cleaning after each use ensures it continues to function efficiently, preparing countless meals without issue. Incorporating these simple steps into your kitchen routine can save you time and effort in the long run, making meal prep a more enjoyable and less tedious task. Plus, you’ll enjoy the peace of mind that comes with knowing your appliance is in perfect condition, ready to whip up your next culinary creation. So, roll up your sleeves, gather your supplies, and give your Instant Pot the TLC it deserves.